
Add and Remove Learners Individually
Enrol a Learner
Coursebox allows you to add learners one at a time, making it simple to enrol individuals directly into your course or platform. This is especially useful when onboarding new learners gradually or managing enrolments outside of bulk CSV uploads.
You can assign specific roles, grant immediate access, and send a customised invitation—all from a single, user-friendly interface.
FROM THE TOP MENU
- Click the + sign in the top menu

- In the pop-up window, Add the name of the person you want to invite.

FROM THE COURSE
- Select the Share button and add the email of the person you want to invite.

Unenrol a Learner
Course admins can remove learners from a course whenever access needs to be updated or corrected.
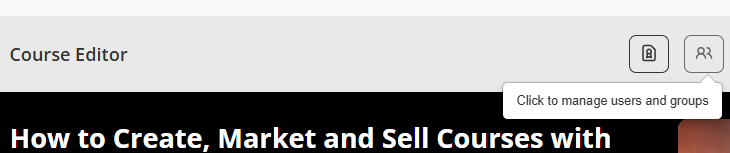
From the Course Editor, click the People icon located in the top-right corner of the page.
- This opens the Users panel. Ensure you are on the Users tab, where all enrolled participants are listed.
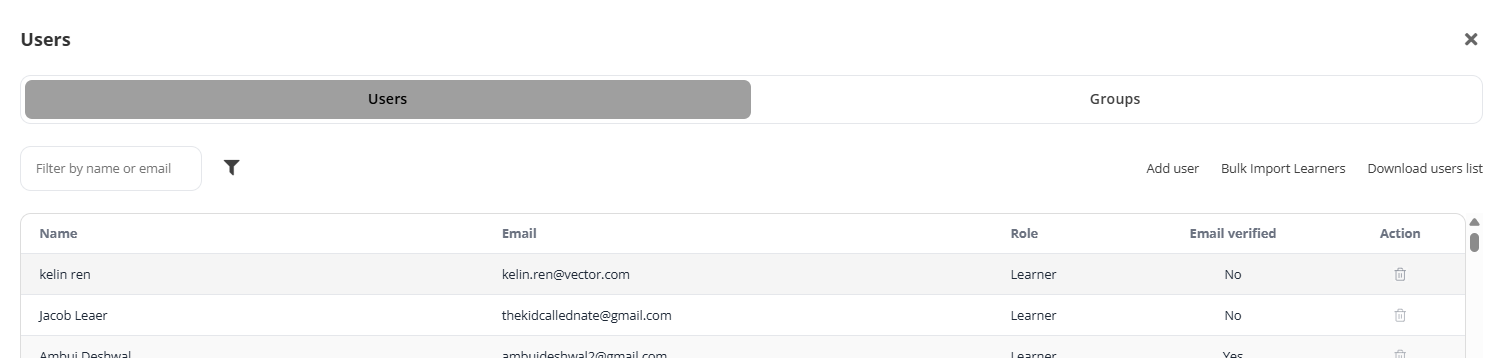
Find the learner you wish to remove from the course.
In the Action column, click the trash can icon to unenrol the learner from the course.
If the student is manually re-enrolled, progress is not lost, and the student will continue from exactly the same point where they were when enrollment was terminated.
Note: Learners cannot self-unenrol. Super admins must also be invited as course admins if they need to assist with managing enrolments.
Add Facilitators
Adding a facilitator gives that person access to the course so they can support delivery, assist learners, and contribute to course management. This is also where you would grant access to members of the Coursebox Branded Training Platform (Premium) team if they are supporting your course setup or delivery.
Navigate to the course where you want to add users and click the user icon (??) labeled "Click to manage users and groups" at the top of the course editor.
In the pop-up window, ensure you are on the Users tab (selected by default).
On the right side of the panel, click Add user.

In the “Add user” field, type the person’s email address (or name, if they’re already registered).

Use the dropdown next to the input box (default is As Learner) and choose As Facilitator
Once the email and role are selected, click the Add button. The user will be added to the course with the assigned role.
Add Collaborators
Adding a Collaborator gives that person full access to view, edit, and contribute to your course development. This is ideal when you are co-creating content, reviewing materials, or receiving support from colleagues. You can also grant collaborator access to team members from the Coursebox Branded Training Platform (Premium) if they are assisting you.
Add an Admin
In the Course Editor, click the Manage Users and Groups icon.

- Select Users

- On the right hand side select Add User

- Type ‘@’ and their name and their profile icon will pop up.

- From the dropdowns select Collaborator

- Then click add to confirm
Note: The person must already have a user profile in your platform before they can be added as a collaborator.
Delete a Collaborator
If you need to take away Collaborator access, follow these steps:
Open the profile of the person you want to remove as a Collaborator.

- Their current roles (e.g., Facilitator, Collaborator) will display under their name.

- Click the Edit icon (pencil) next to their name/status.
- A box will appear showing their active roles.

- Click the X next to Collaborator to remove their access.
- Save Changes
The user will now lose Administrator permissions but will still keep any other roles assigned (e.g., Learner, Facilitator, or Expert).
Was this article helpful?
That’s Great!
Thank you for your feedback
Sorry! We couldn't be helpful
Thank you for your feedback
Feedback sent
We appreciate your effort and will try to fix the article