Coursebox offers flexible ways to create engaging online courses—whether you prefer the speed of AI or the control of manual design.
This section outlines how Learning Designers, Creators, and Administrators can quickly generate a course structure and content using the AI-powered tools available in Coursebox.
Create a course using AI
This section outlines how Learning Designers, Creators, and Administrators can quickly generate a course structure and content using the AI-powered tools available in Coursebox.
Starting Course Creation
To create a course, you can choose one of two quick and easy options.
- Click 'Create Course' on the left hand side navigation
- Or Click the 'Plus' symbol in the top right and select 'courses'

Set Course Specifications
NOTE: The order in which you go through these steps is not fixed. You can input the audience before uploading documents for example. But this guide will simply go through the process left to right.
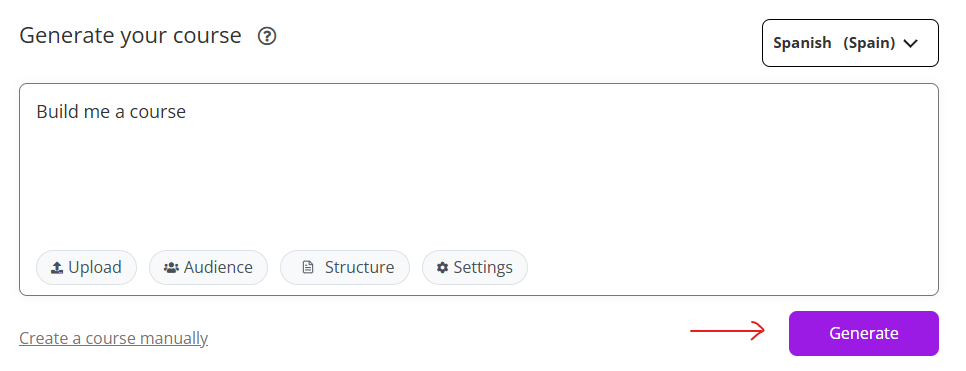
- Select the language in which you want to write (using the drop down menu at the top right, shown below). Then in the 'generate your course' text box, describe your course. We'd recommend being as detailed as you can here, as the more thorough you are, the better tailored the content will be.

Upload documents by clicking the 'upload' button (shown below).

- This will enable you to feed any text file into the algorithm that actually generates the content within the course. You can also use web links to train the AI on how to generate content in the same location. Simply click 'websites' and add the URL

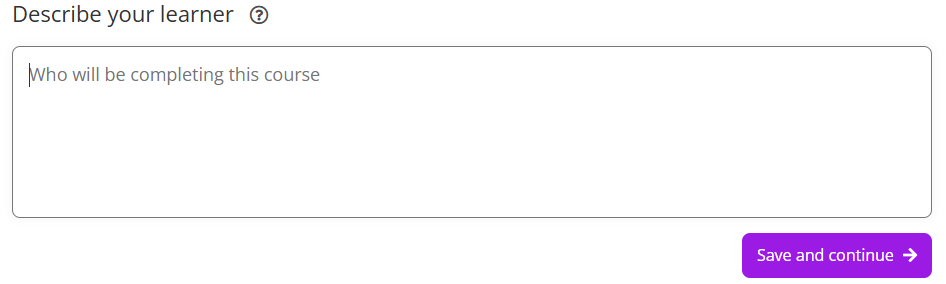
Describe the Learner by clcing the audience button below.

- This is where you would describe the intended learner for your course. Providing detailed information helps ensure the content is tailored to the learner’s needs, experience level, and expectations. Consider including details such as:
- Prior knowledge or experience
- Skill level (beginner, intermediate, advanced)
- Typical age range or career stage
- Learning goals or motivations
- Any challenges or constraints they may have
The more specific your description, the better the course content can be aligned to your audience.
Example:
“This course is designed for small business owners, educators, and content creators aged 30–55 who are new to online course creation. Learners are comfortable using basic digital tools but have little to no experience with learning management systems. Their goal is to create and sell a professional online course efficiently, without needing technical expertise.”
Set Structure (optional): This is where you can modify the structure of your case.

- This would refer to the number of topics, pages, quizzes and other inclusions with the content. This is also something that you can change when the content is generated, but defining this up front can save time

NOTE: You can modify the structure by using a file (create from file). This is where you could upload documents that describe your course curriculum, topics breakdown or other such details. Alternatively, you could go into the fixed parameters and modify the structure that way (as shown below)

Settings: You can then modify the settings of the course.

- This refers to whether you choose to include Youtube links, AI generated images, interactive elements and pass grades (as shown below)

Generate the Course
Once you're happy with the specifications of the course, you're ready to generate. This can be done on any screen where you see the 'generate' button. The most obvious is back on the main course creation page shown below
- This can also be done from the 'Structure' page as well
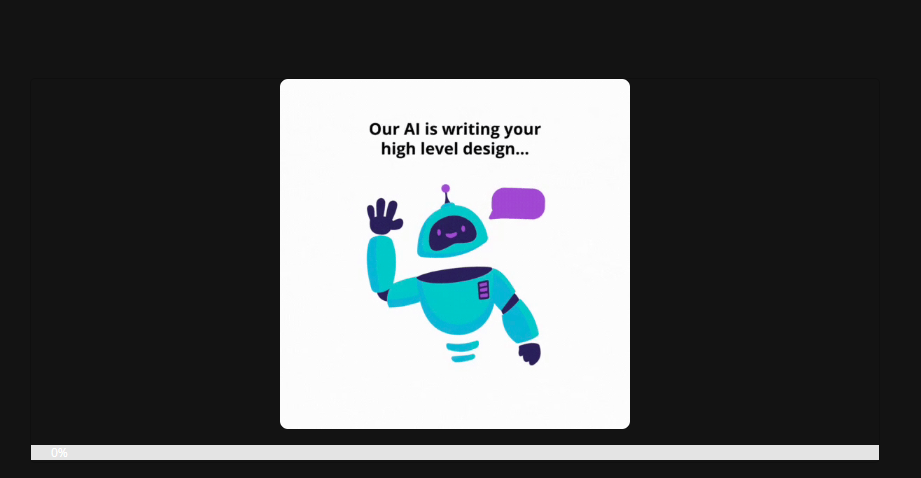
- You'll then see the course being generated based on a progress bar
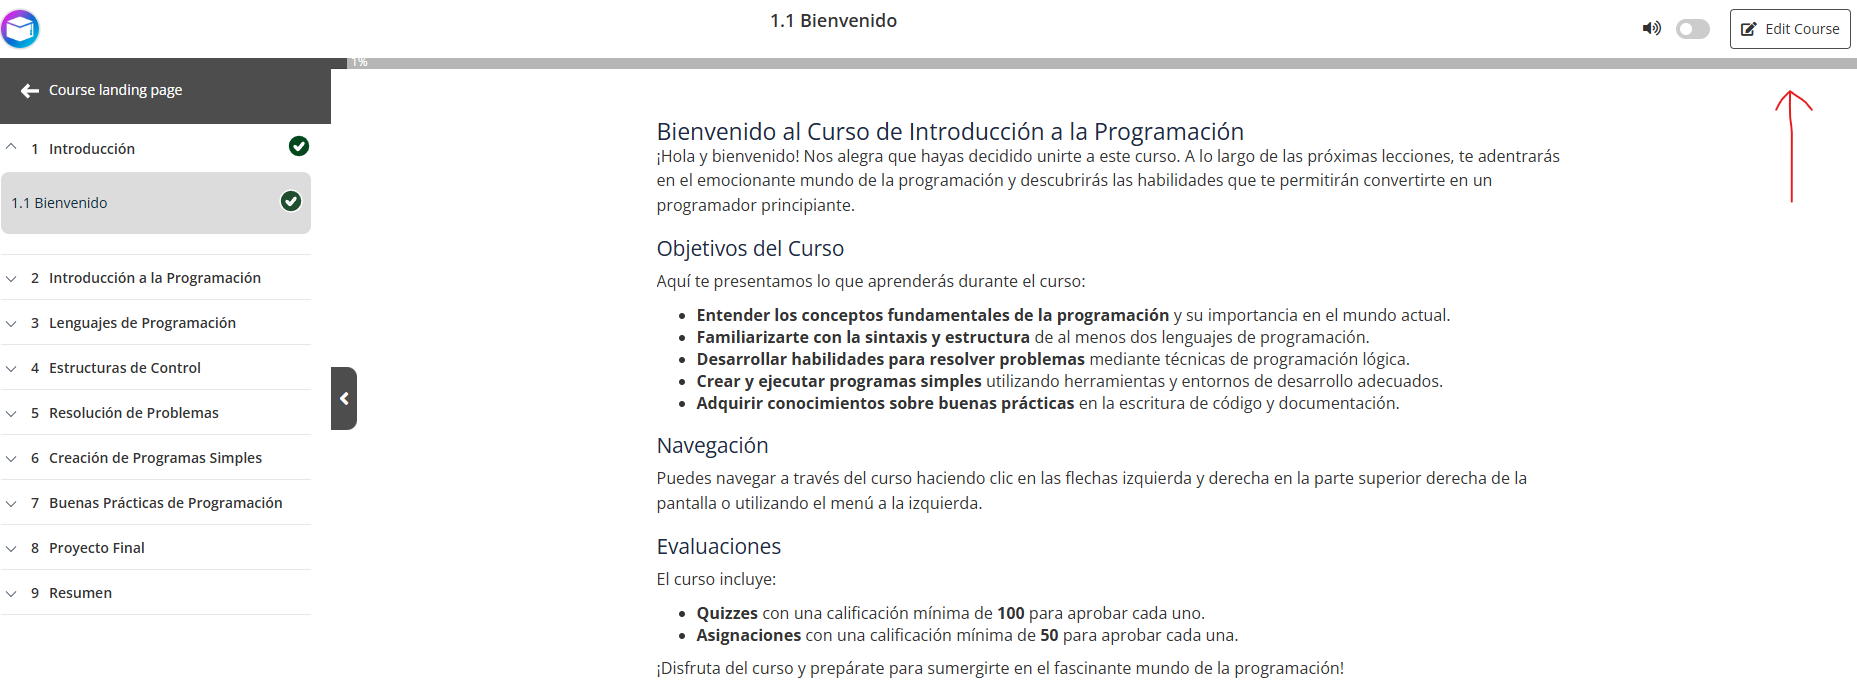
- Once the page starts to load, you'll see the content start to be populated based on the specifications you made
Modify the Content
You'll then have the opportunity to Modify the content. You will potentially see some sections or course inclusions still loading or being populated which is normal. You'll be able to see content appear as it's generated.
- Edit the course: Click the 'edit course' button at the top right in order to start modifying the content that's been generated.
- In edit mode, you'll be able to modify the text fields
- You'll be able to add additional interactive elements, videos and documents
- You can modify or add assignments and quizzes
The AI does a fantastic job of populating your course based on all the information you gave it up front. But this additional handle of control will enable you to perfect the content as you wish. Then you can publish invite and manage learners, admins and facilitators.
For more information on Course Creation go to: Generation of Course Content
Watch the Tutorial Videos found in our Demonstration Video Library.
Was this article helpful?
That’s Great!
Thank you for your feedback
Sorry! We couldn't be helpful
Thank you for your feedback
Feedback sent
We appreciate your effort and will try to fix the article