This topic outlines the platform-level configuration options available to Business and Enterprise accounts. It explains how Super Admins can customise global settings such as language, translations, right-to-left (RTL) support, and default grading schemes to align the Coursebox platform with organisational, regional, and compliance requirements.
Set or Change the Platform Language
For Business & Enterprise Accounts only. To upgrade your account go to: https://www.coursebox.ai/pricing
As a Super Admin, you can set the main language for your Coursebox Branded Training Platform or create new custom translations using JSON language files.
Open the Language Settings
Log in to your Coursebox portal as Super Admin.
Go to Settings → Language.

- You’ll see a list of available languages under Main Language (like English, Français, Español, etc.).

Set the Default Language
Click the language name you want to make the main language (e.g., English).
The blue checkmark ✓ will show next to your selected default language.
This becomes the default language for your portal and all new courses.
Download an Existing Language File (Optional)
If you’d like to change the wording that appears throughout your Coursebox portal — for example, renaming “Learning” to “Course” or translating the interface into another language — you can do this by editing the language file.
Click the download icon ⬇️ next to the language you want to edit.
This saves a .json file (language file) to your computer.
Open the file in a code editor such as Visual Studio Code or an online editor like jsoneditoronline.org.
The language file is written in JSON (JavaScript Object Notation) format.
This structure uses key–value pairs — the text on the right-hand side of the colon (:) is what appears in your portal and can be safely edited.
If you’re unfamiliar with JSON syntax, it’s best to involve someone on your team with basic coding or translation experience.

Alternatively, you can reach out to the Coursebox Support Team for guidance or assistance in applying your changes safely.
Below is a sample of the language file downloaded. If you use a code editor like (https://code.visualstudio.com/) then you will be able to read the code better. The text in green colour is the one to be edited while the blue one should be left untouched. This way, you can change names of the section within the portal.
For example, if you want to change ‘Learning’ into ‘Course’ then you just have to change the Learning text in the code to Course.
You can also use the same file to translate your language from English to any other language of your choice.

RTL for Courses in RTL Languages
Coursebox supports building courses for right‑to‑left languages (e.g., Arabic, Hebrew, Persian, Urdu). Use the options below to set RTL at the course, page, or block level.

Create a New Language
If you want to add a completely new translation:
In the Language list, click ➕ Create new language.
The Create New Language window will open.

Fill in the fields:
International Language Code: e.g.,
es-ESfor Spanish orfr-FRfor FrenchLanguage Name: e.g., Español or Français
Click Upload Translations File and select your prepared
.jsonfile.Click Save Language.
Your new language will now appear in the Main Language list.
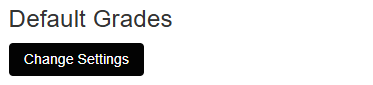
Set Default Grades
For Business & Enterprise Accounts only. To upgrade your account go to: https://www.coursebox.ai/pricing
The Super Admin can define the default grading scheme for the entire portal. These grades are applied automatically to courses unless overridden at the course level.
By default:
80% and above is marked as Complete
Below 80% is marked as Fail
Step 1: Access Default Grades
Log in as a Super Admin.
Click your profile icon in the top-right corner.
Select Settings.
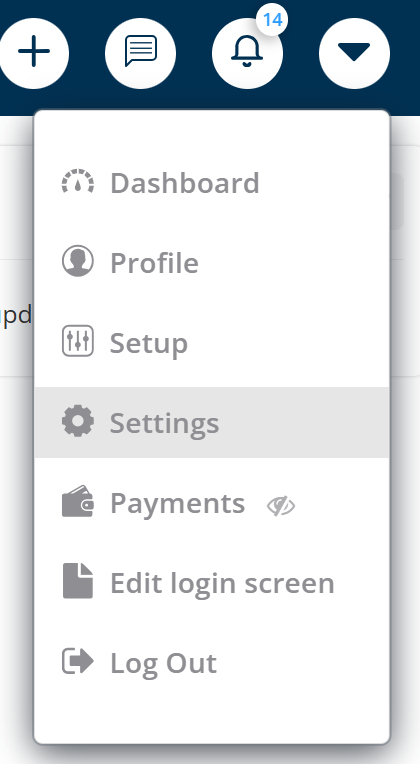
- Open Default Grades.
Locate the grade slider.
Drag the green slider handle to set the minimum percentage required to achieve Complete.
Any score below this value will be marked as Fail.
Example:
Setting the slider to 70% means learners must score 70% or higher to complete the course.

If you want to customize, click on the slider and drag it to the desired percentage value.
Click on the add button in order to introduce a new grading level. You can provide your own custom name and assign desired percentage value.

Was this article helpful?
That’s Great!
Thank you for your feedback
Sorry! We couldn't be helpful
Thank you for your feedback
Feedback sent
We appreciate your effort and will try to fix the article