For Business & Enterprise Accounts only. To upgrade your account go to: https://www.coursebox.ai/pricingSet Up Bookings
Setting Hourly Rate
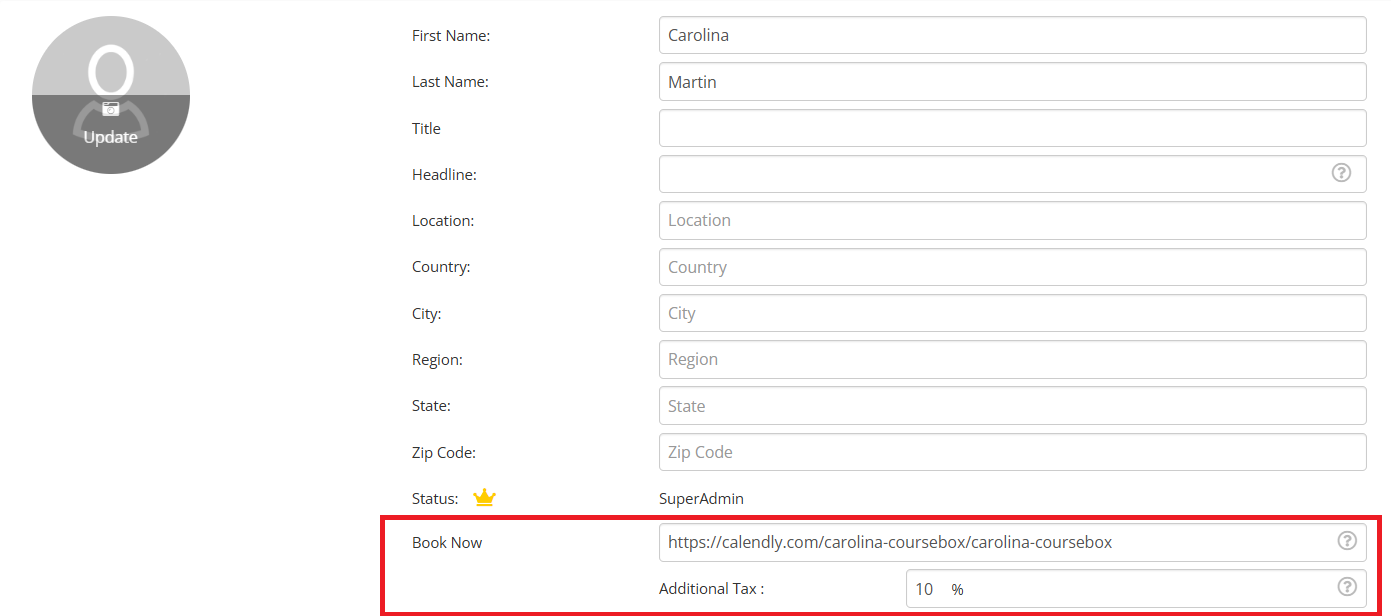
You can set an hourly rate for your session along with an additional Tax rate. We recommend you check with your respective state law for Tax information.

After setting an hourly rate, you need to provide a link to your Calendly booking calendar.

Click on Save to update the changes.
Now, when you view the user’s profile you will see Hourly Rate information and a Book Time button to book a time.

Learning Request
Alternatively, users can also click on the ‘Learning Request’ button to request one-on-one sessions.
Click on ‘Learning Request’ to request one-on-one sessions. You will be prompted with a request template which you can edit and Click on Send to initiate the learning request.

Uploading a new file
Click on the ellipsis icon ![]() besides the folder.
besides the folder.
From the drop down menu, click on the Upload Files option.
Upload your file, name the resource, set its privacy and click on Save.

Sharing private resources
Click on the ellipsis icon ![]() besides any private folder or file and click on Viewers.
besides any private folder or file and click on Viewers.
On the manage viewers panel, you can select single or multiple members and click on Add to share the file or folder with other community members.

Was this article helpful?
That’s Great!
Thank you for your feedback
Sorry! We couldn't be helpful
Thank you for your feedback
Feedback sent
We appreciate your effort and will try to fix the article