Configure advanced options for your course via the settings menu on the course overview page.
Open the settings menu
From the course overview page, locate the toolbar in the upper-right corner. Click the gear icon (⚙) to open the dropdown menu.
Select "Advanced settings"
From the dropdown, click Advanced Settings — the first option at the top of the menu. A modal dialog will open.

Configure each field
Review and adjust the available settings as needed.
Save
Click the Save button at the bottom of the modal to apply your settings. To exit without saving, click Cancel.
Manage prerequisites
Require learners to complete other courses before accessing this one.
Open the settings menu
Click the gear icon in the upper-right toolbar on the course overview page.
Select "Manage prerequisites"
Click Manage prerequisites from the dropdown. A modal will open showing any currently assigned prerequisites.

Search for a course to add
In the search field, type @ followed by the course name to search your existing courses. Select the course you want to set as a prerequisite from the results.
Example: Type @intro to find any course with "intro" in its title.
Add the prerequisite
Once a course is selected in the search field, click the Add button. The course will appear in the prerequisites list below.

Remove a prerequisite (if needed)
To remove an existing prerequisite, locate it in the list and click the remove or delete option next to it.
Note: If no prerequisites are set, learners can access this course freely. The modal will show "No prerequisites set" when the list is empty.
Duplicate this Course
The Duplicate feature lets you create a copy of an entire course, which will appear in your Drafts. This is a valuable time-saving tool when you want to reuse an existing course structure.

You might use it to:
- Build a shorter or condensed version of a course
- Tailor the same content for a different audience or language level
- Experiment with changes without affecting the original course
Duplicating a course helps streamline course creation while maintaining consistency across programs.
Delete Course
The Delete function allows you to permanently remove a course from your drafts or course list. This is useful if the course is no longer needed or was created by mistake.

When you click Delete, a confirmation message will appear to ensure the action is intentional. You can choose to cancel at this stage if needed.

Note: Use this option with care, as deleted courses cannot be recoveredShare Settings
The Share settings control how your course is discovered and accessed by others.

1. Hide in Search
- Toggle ON to prevent your course from appearing in search results.
- Toggle OFF to allow your course to be visible in search.
Use this if you want to keep your course private or only share it via direct link.
2. Allow Public Discovery
- Toggle ON to make your course publicly discoverable.
- Toggle OFF to restrict access (only people with the link can view it).
This is useful when you want to:
- Promote your course publicly
- Allow users to find it organically
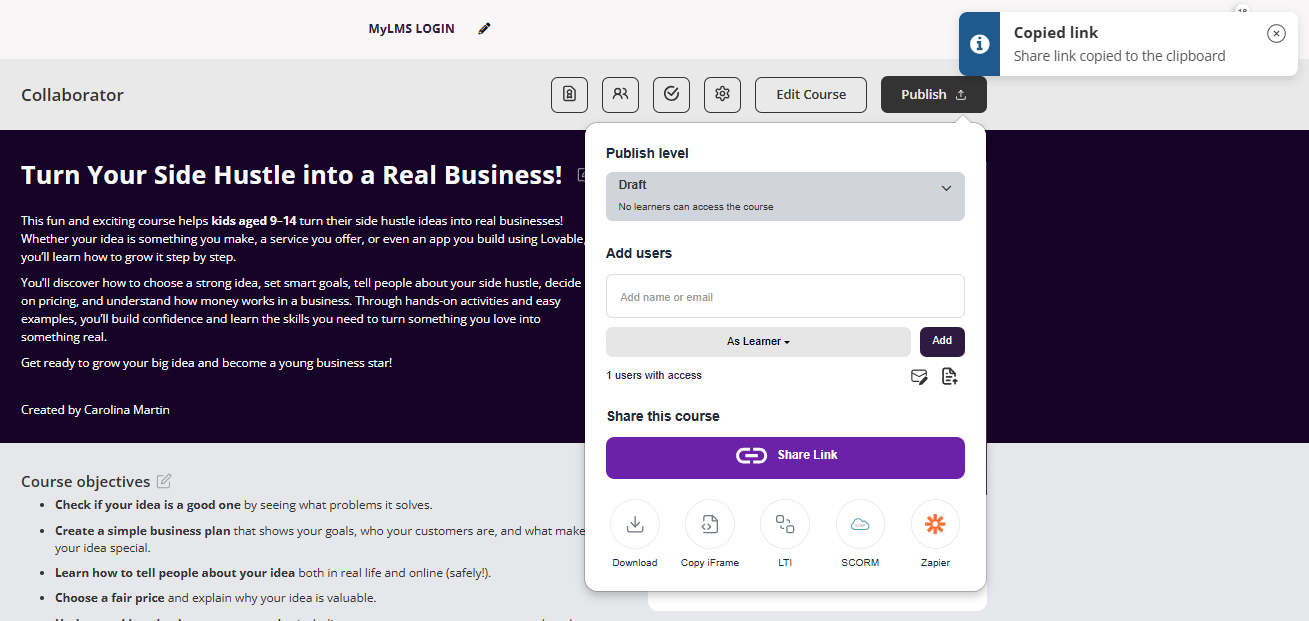
After finalising your course design, the next step is to make it available to learners. Publishing your course in Coursebox is quick and simple. Once published, your content becomes live and accessible to those you've shared it with.
Whether you're launching a new training program or updating existing content, this step ensures your learners receive the most up-to-date version of your course.

Publish a course as Restricted
Go to Share Settings and Click on Private to publish the course as a Restricted course.

When you publish a course as Private, learners will need permission to access the course.
Learners will see “Request Access” to log in.

Publish a course as Public (Free)
When a course is published as Public then anyone with the portal can access the course without the need of approval.
In the Share this course section, go to Learner Access and in select the drop down to click on Public (Free).

Public courses will have a “Get Started” button on it.

If you make it a paid course then you can publish the course only as Public and “Buy Now” button will appear for the course.
Sell a course
In addition to making a course Restricted or Public, you can also Sell this course.
Before you can sell your course you will need to link Stripe or Paypal.
Set Price & Payment Options
Once your Paypal or Stripe is linked:
- Enter your Price, choose your Currency, and add any Additional Tax % if required.
- You’ll now see Stripe and PayPal as available payment methods (if both are linked).

For more information how to set up Stripe see: Managing Payments in Coursebox User Manual.
In the Share this course section, select the drop down to click on Sell this course.

The learners will then be able to purchase the course.

Choosing the Right Export or Integration Method
Include guidance such as:
HTML & PDF exports
These are static formats and do not include videos, interactions, or AI-generated visuals. Use these formats only for reference or offline viewing.LTI & SCORM
These are intended for integration with other LMS platforms. Compatibility depends on the target system. They are not recommended for CRMs or website builders.Embedding on external websites
To preserve videos, interactivity, and design, publish your course and embed it using an iframe.CRM integrations (e.g. GoHighLevel)
Use Zapier to automate enrolments. Course content should still be delivered via Coursebox.
Download a course as PDF, HTML or Marking Guide Pdf
Coursebox gives you multiple export options so you can easily share or host your course outside the platform. Whether you're saving a course for offline use, uploading it to a Learning Management System (LMS), or sharing it as a PDF, Coursebox offers flexible formats to suit your needs.
On any course, navigate to the publish settings and then click share, from the screen below, select download and the options for PDF or HTML will come up.

The PDF and HTML backups include the written course structure and content, including learning text, quizzes and assignments. It excludes interactions (eg accordions, SCORM embeds etc), audio recordings, video recordings and images. These items may be saved at the course page level in most cases.
FAQ: How to save an image in edit mode on a course page
FAQ: Will this feature be enhanced in 2026?
Yes, we intend to make this export feature more powerful in the future.
For full course exports, this is possible via SCORM wrapper and integrations into third party LMSes.
Share a Link to a course
On any course, navigate to the course page and share icon > share the link.
Copy a course iFrame
Embedding your Coursebox course on other websites lets you share learning content seamlessly without asking learners to log into multiple platforms. Whether you’re adding it to your company intranet, a WordPress site, or an LMS, the share feature gives you an iframe code that can be pasted anywhere HTML is supported. This makes it easy to showcase your course in the exact environment where your learners already engage.
- On any course, navigate to the course page and click the share icon > copy the iframe to copy the code.
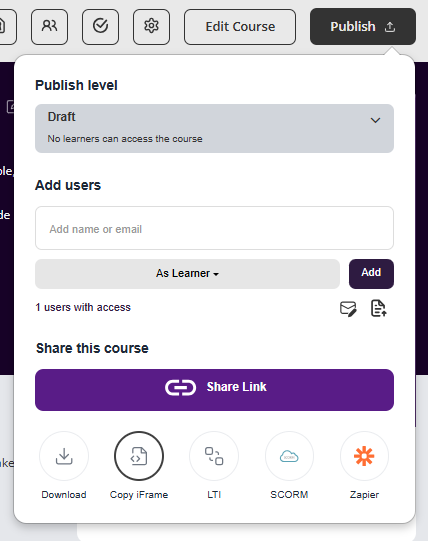
- Then paste this using HTML anywhere on the web.

Share a course to LMS - LTI
Coursebox acts as Provider for LTI 1.3 that enables you to add course box courses into any LTI 1.3 compliant Branded Training Platform. LTI enables a secure communication bridge between the Branded Training Platform and Coursebox to launch the course, pass the grades.
The integration steps are very straightforward and easy,
- Open the Course in Coursebox, click on share button and click on LTI.
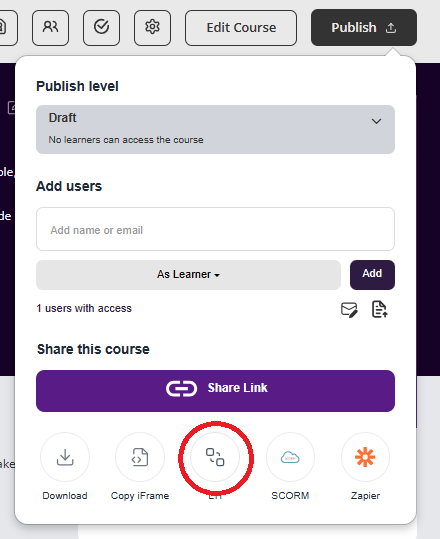
- It will open a popup, where you can add your Branded Training Platform. Click ‘Add New Branded Training Platform’.
- You will see the form with Coursebox LTI details. You will need to use these details to create an LTI Tool in your Branded Training Platform. Fields details are mentioned in the provided Field Labeling Chart below.

- Once you enter the above details in your Branded Training Platform, you will get details from your Branded Training Platform to fill out the form in Coursebox. Fields details are mentioned in the provided Field Labeling Chart below.

- Now, you can start adding courses using the LTI Tool according to the guidelines provided in your Branded Training Platform Documentation.
Field Labeling Chart:
Following is the chart for field labels to give an idea to handle the LTI Integration process.
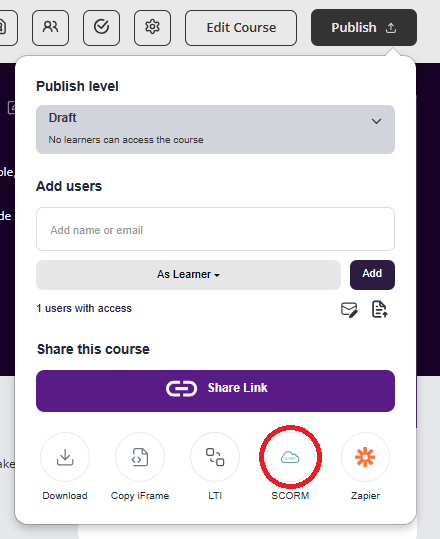
Export a Course to SCORM 1.2 and 2004
Coursebox enables experts to export courses as in SCORM format, including 1.2 or 2004.
When you export a Coursebox course as SCORM, you’re packaging your Coursebox pages, media, and completion logic into a standard zip that any SCORM-compliant LMS can play. The learning experience is still powered by Coursebox—the player, navigation, and tracking behaviours come from Coursebox’s authoring and runtime—just delivered through your LMS.
Key things to know:
- Edits after export: If you update the course in Coursebox, you’ll need to re-export and upload the new SCORM package into your LMS.
- Branding: Your Coursebox styling and layout remain intact.
- Tracking: Choose SCORM 1.2 (widely supported for completion/score) or SCORM 2004 (v3/v4) for advanced sequencing and bookmarking.
Export to SCORM
On the publish settings page, publish your course and click the share button to then select the version of SCORM required for upload to your LMS.

Note that this requires a published live sync to the course to take advantage of the AI and related live features.
Upload to Your LMS
Each LMS has slightly different steps for uploading SCORM packages.

Always follow the official documentation for your platform to ensure compatibility. Below are links to SCORM guidelines for leading LMSs:
Moodle – SCORM activity – MoodleDocs
Blackboard Learn – Add a SCORM content package (Ultra)
Canvas – Import SCORM files as an assignment
D2L Brightspace – Import and Manage SCORM
TalentLMS – SCORM-Compliant LMS Features
SAP Litmos – SCORM-compliant courseware
Absorb LMS – SCORM/AICC/Tin-Can courses – Absorb Help
LearnDash – SCORM and xAPI Support
Schoology – Course Materials: SCORM Packages
Totara Learn – Add a SCORM activity
Open LMS – SCORM Content Creation Overview
Cornerstone OnDemand – Cornerstone SCORM support overview
iSpring Learn – Uploading SCORM to iSpring Learn
SCORM Cloud (testing) – Upload SCORM course to SCORM Cloud
NEW- Anonymous Users via SCORM (where enabled)
Coursebox supports anonymous user access via SCORM when hosted in external LMS environments. This means learners can launch and interact with Coursebox courses embedded in SCORM packages without requiring a Coursebox login.
Use case examples:
SCORM-based compliance training with no user registration
One-click access via corporate LMS with limited tracking
Note: Anonymous SCORM users are available by default and can be enabled using the checkbox in the SCORM export tooltip.
Both anonymous and non-anonymous SCORM exports do not require learners to register in Coursebox.
The key difference is that with anonymous SCORM, no personal data (such as name, surname, or email address) is stored in Coursebox — only the student ID is recorded.
Important Note on SCORM Integration:
Before exporting your course to SCORM 1.2 or SCORM 2004, please be aware that the SCORM integration requires an active account and a live, published course.
Active Account: To ensure seamless integration and usage of SCORM functionality, your account must be active. If your account is not active, the SCORM integration will not work properly.
Live and Published Courses: You cannot export to SCORM from a course that is still in draft or unpublished status. The course must be published and live in your account for the SCORM export to function correctly.
Do Not Cancel the Course: If you cancel or unpublish your course after exporting it to SCORM, the integration will stop working. The SCORM package will no longer be linked to the course, and updates or tracking will not be reflected. Always ensure the course remains live and published for continuous SCORM integration.
By following these guidelines, you ensure that your SCORM exports will continue to function properly, and your course data remains synced with your LMS.
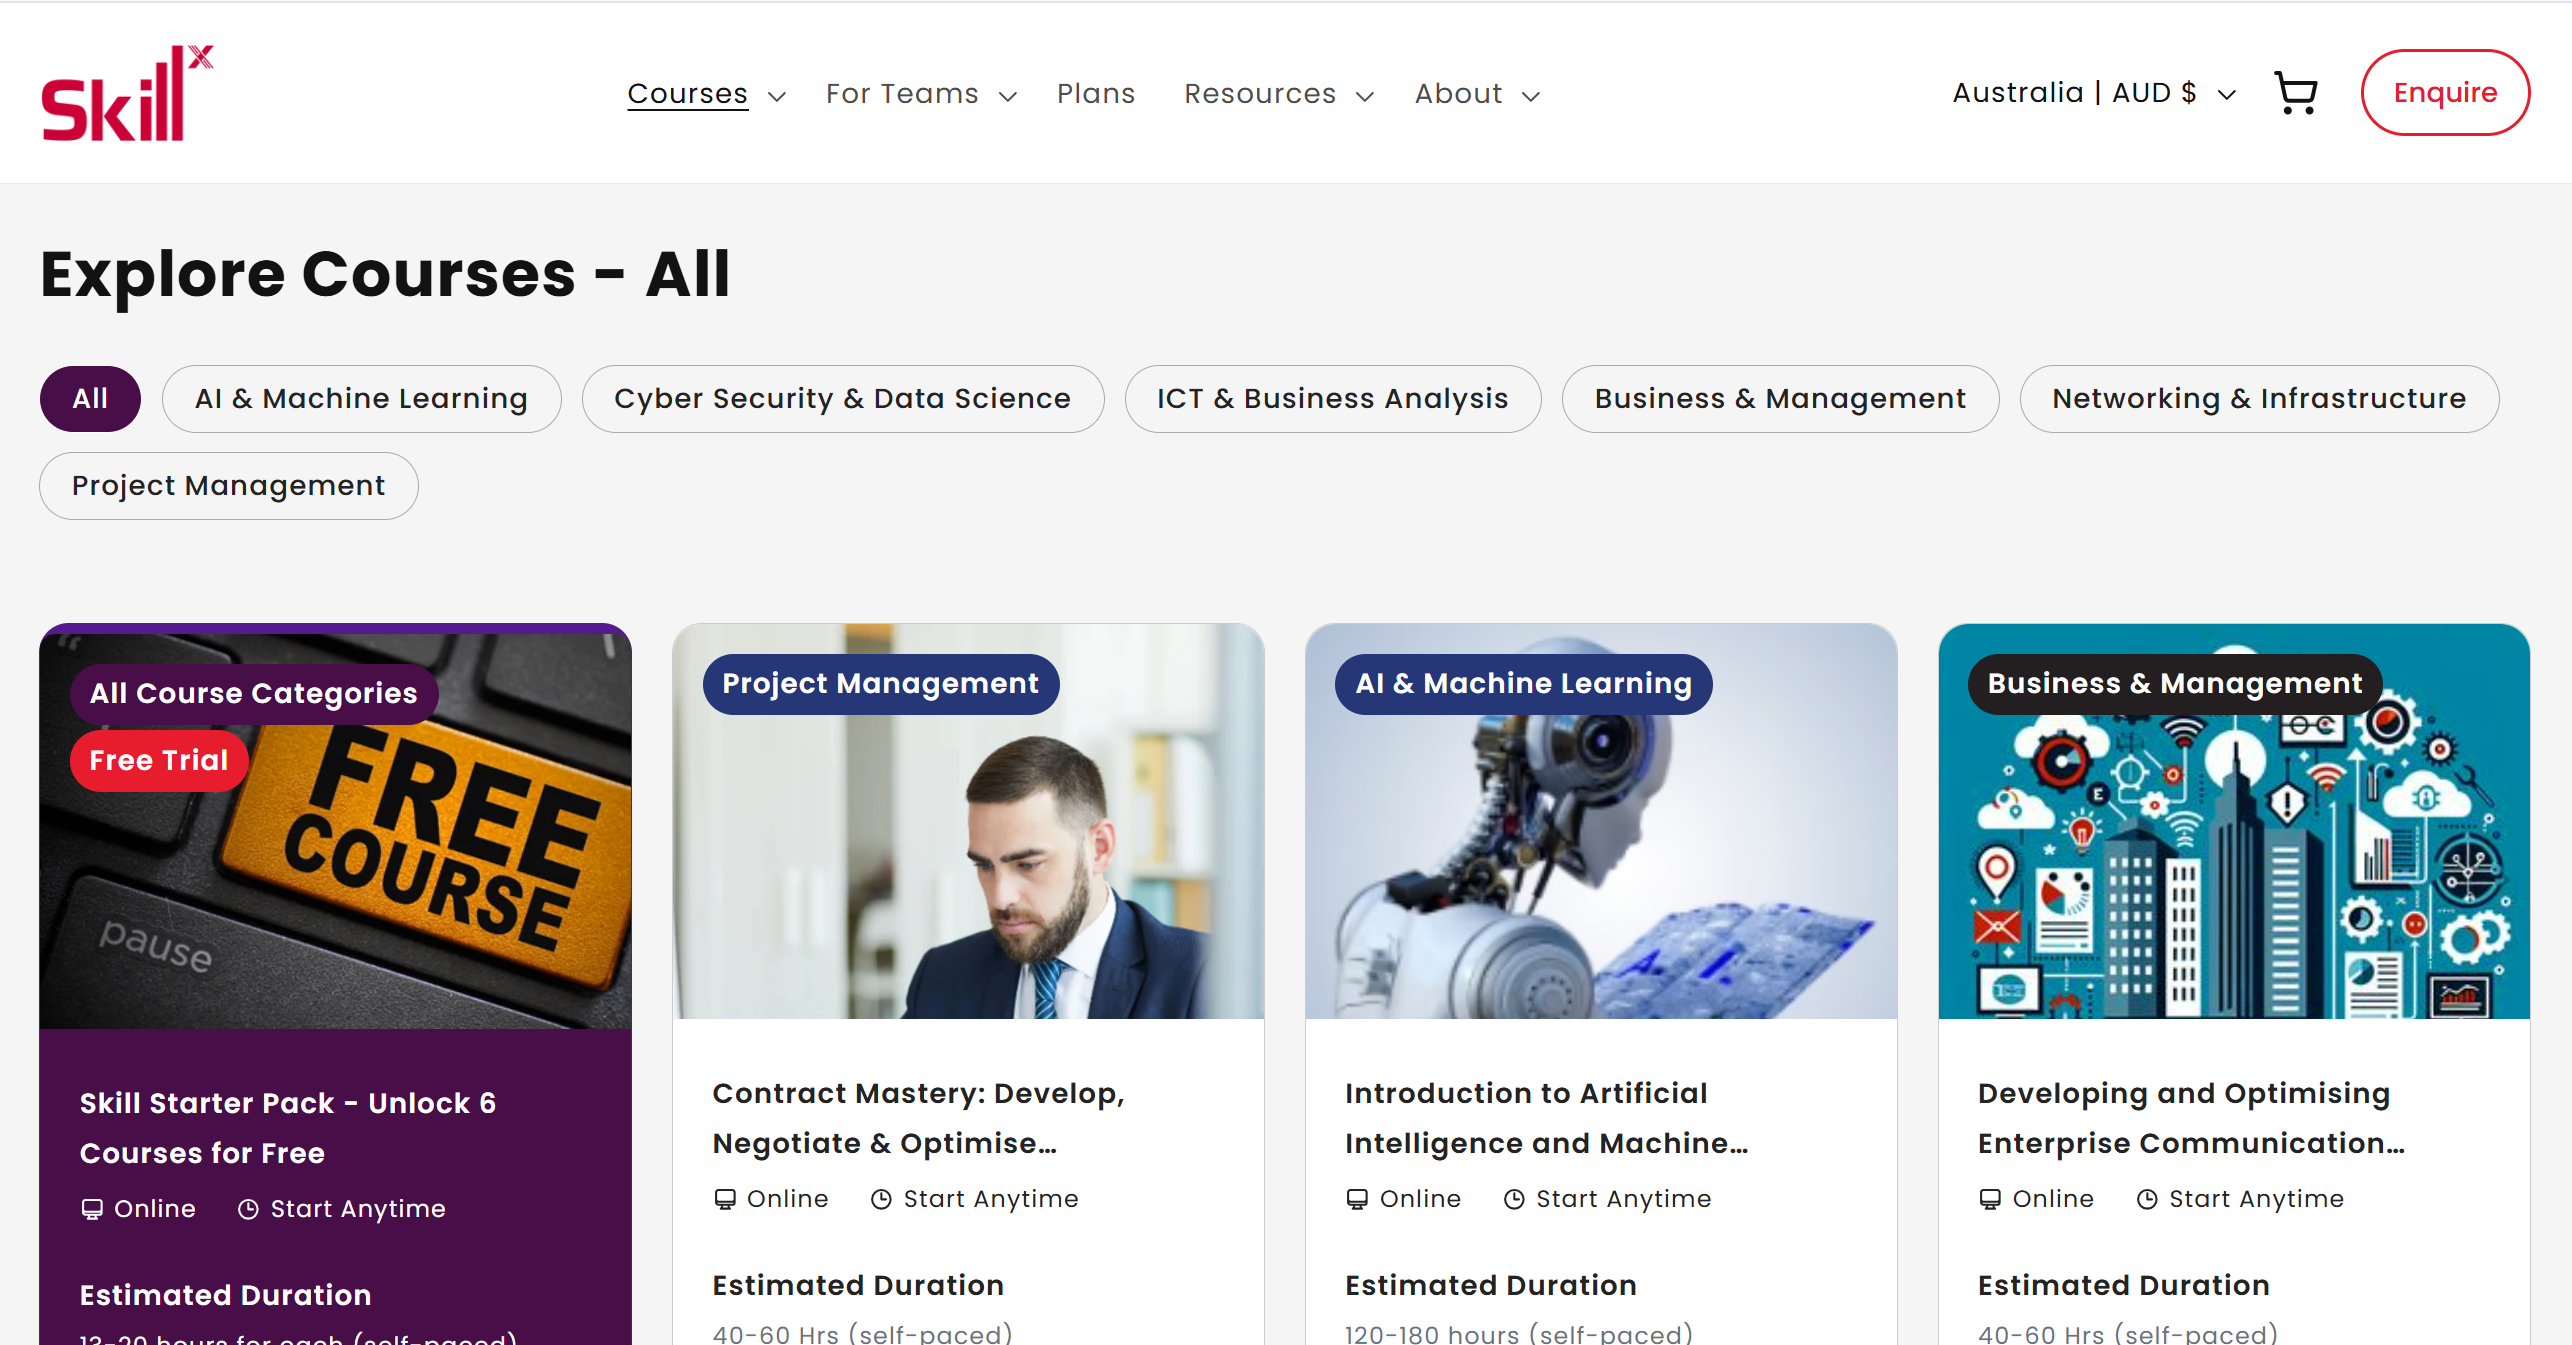
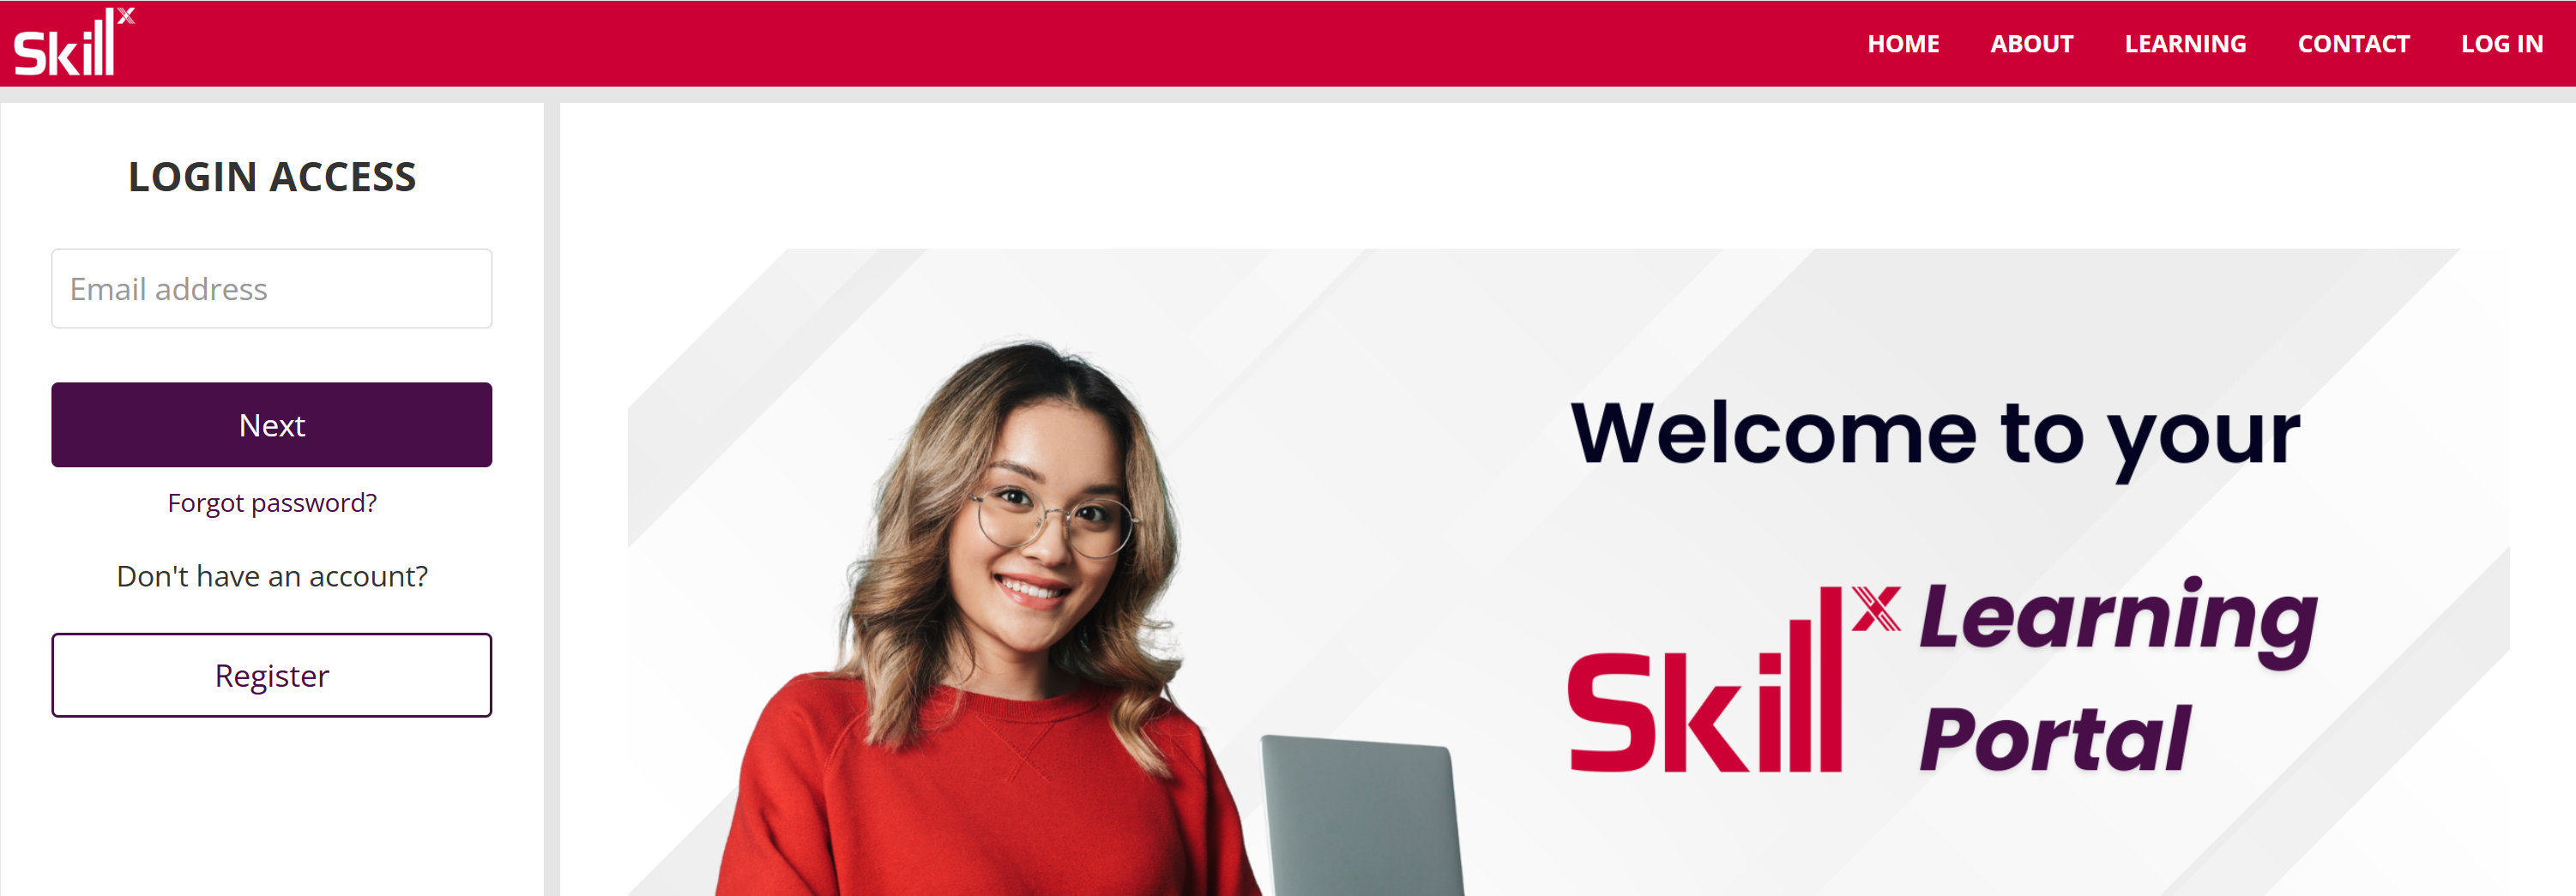
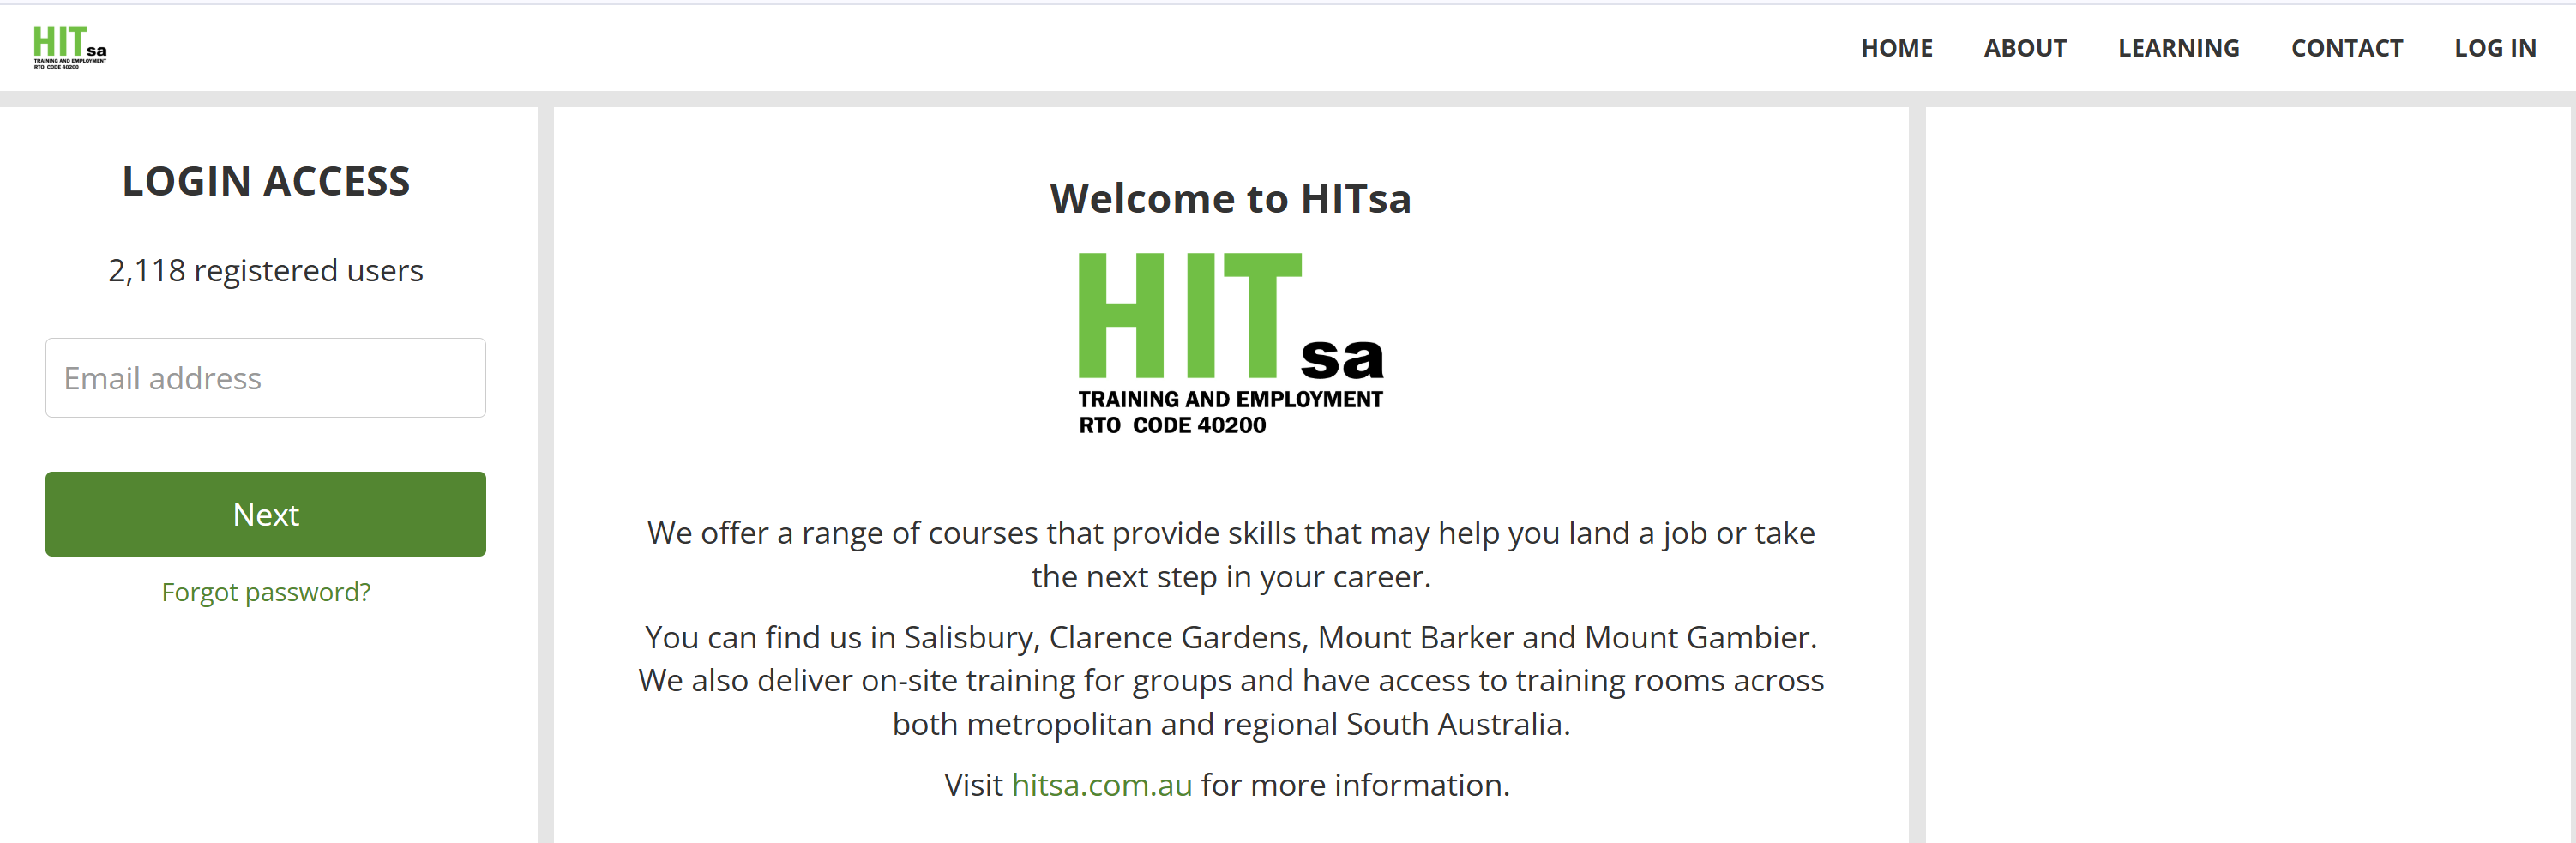
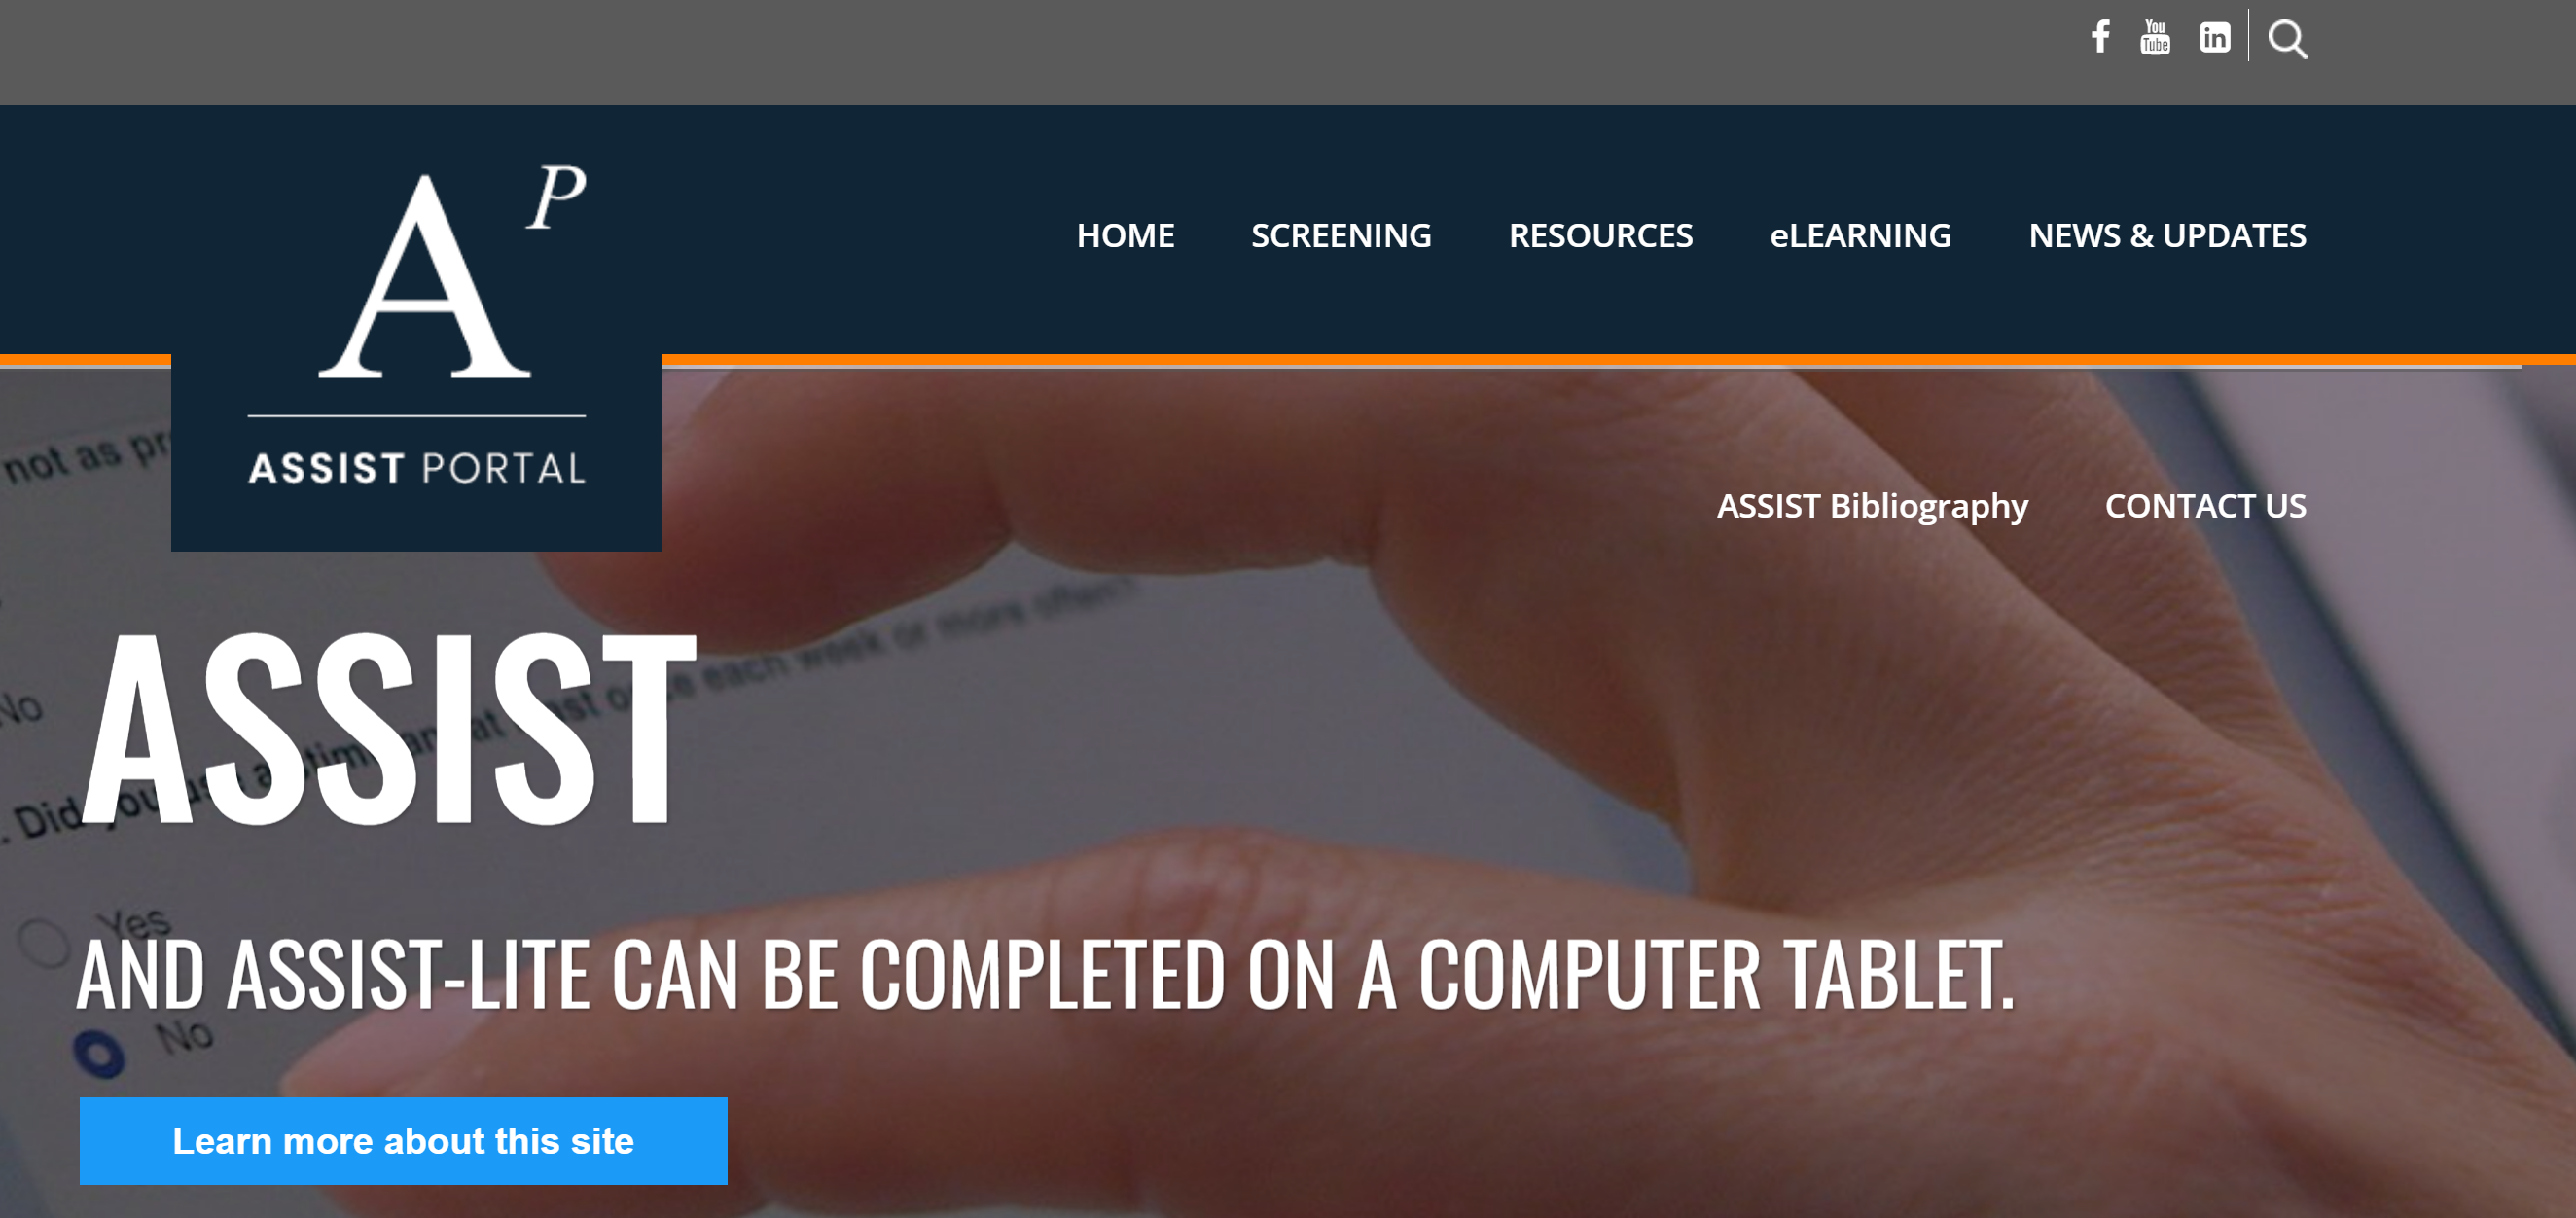
Examples of Published Course Experiences
Coursebox courses can be published in different ways depending on how organisations want learners to discover, purchase, and access training. Below are real-world examples showing how different organisations use Coursebox publishing options.
Example 1
Main Website
Coursebox Learning Experience
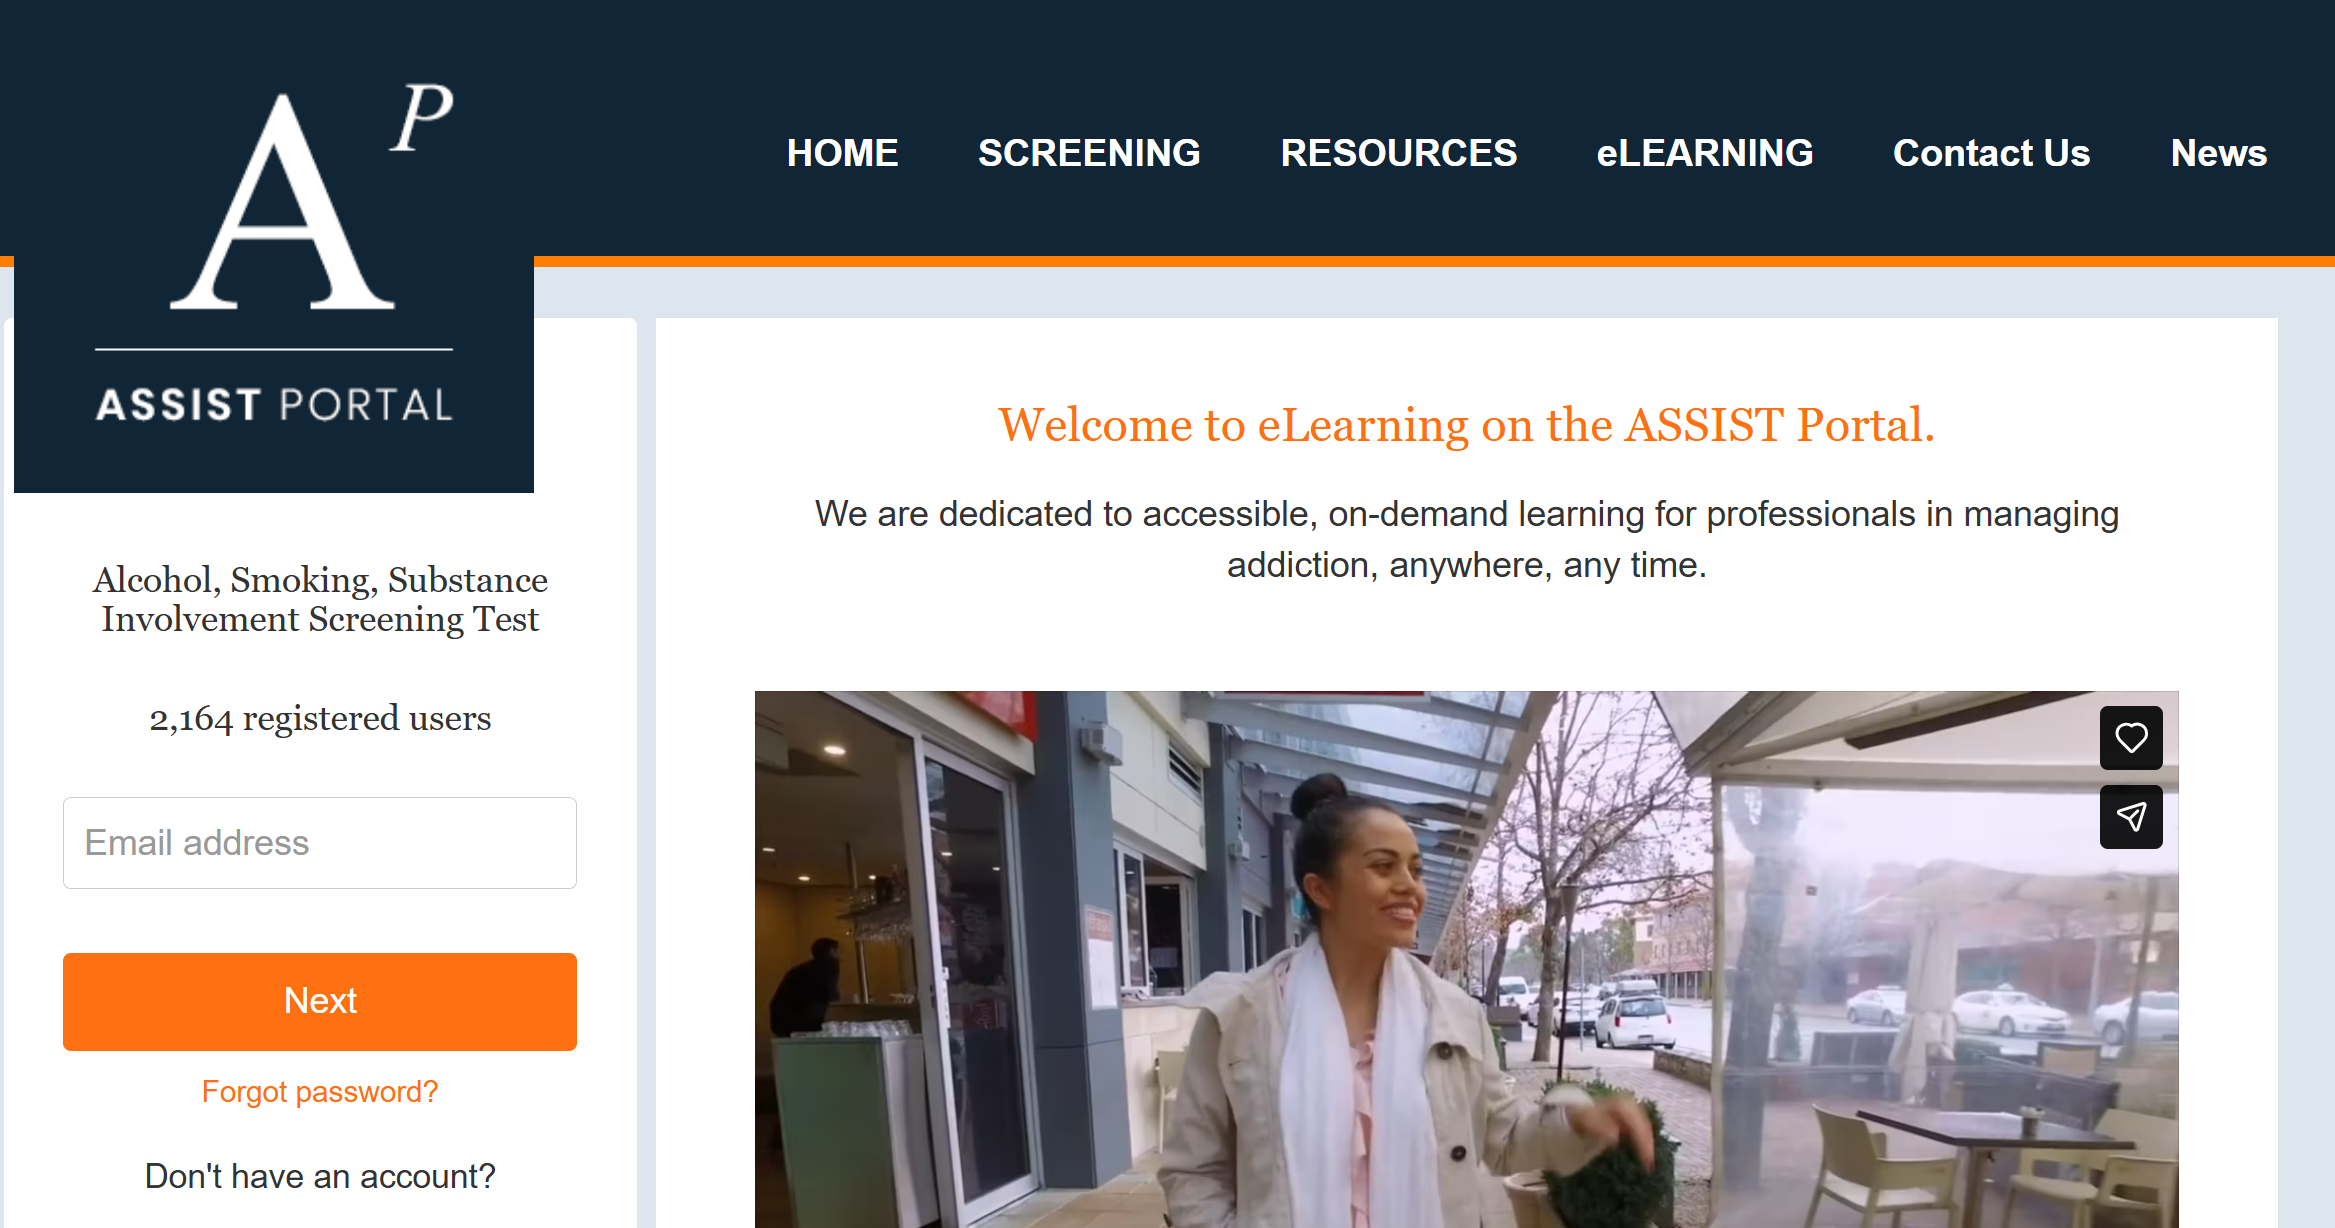
Example 2
Main Website

Coursebox Learning Experience
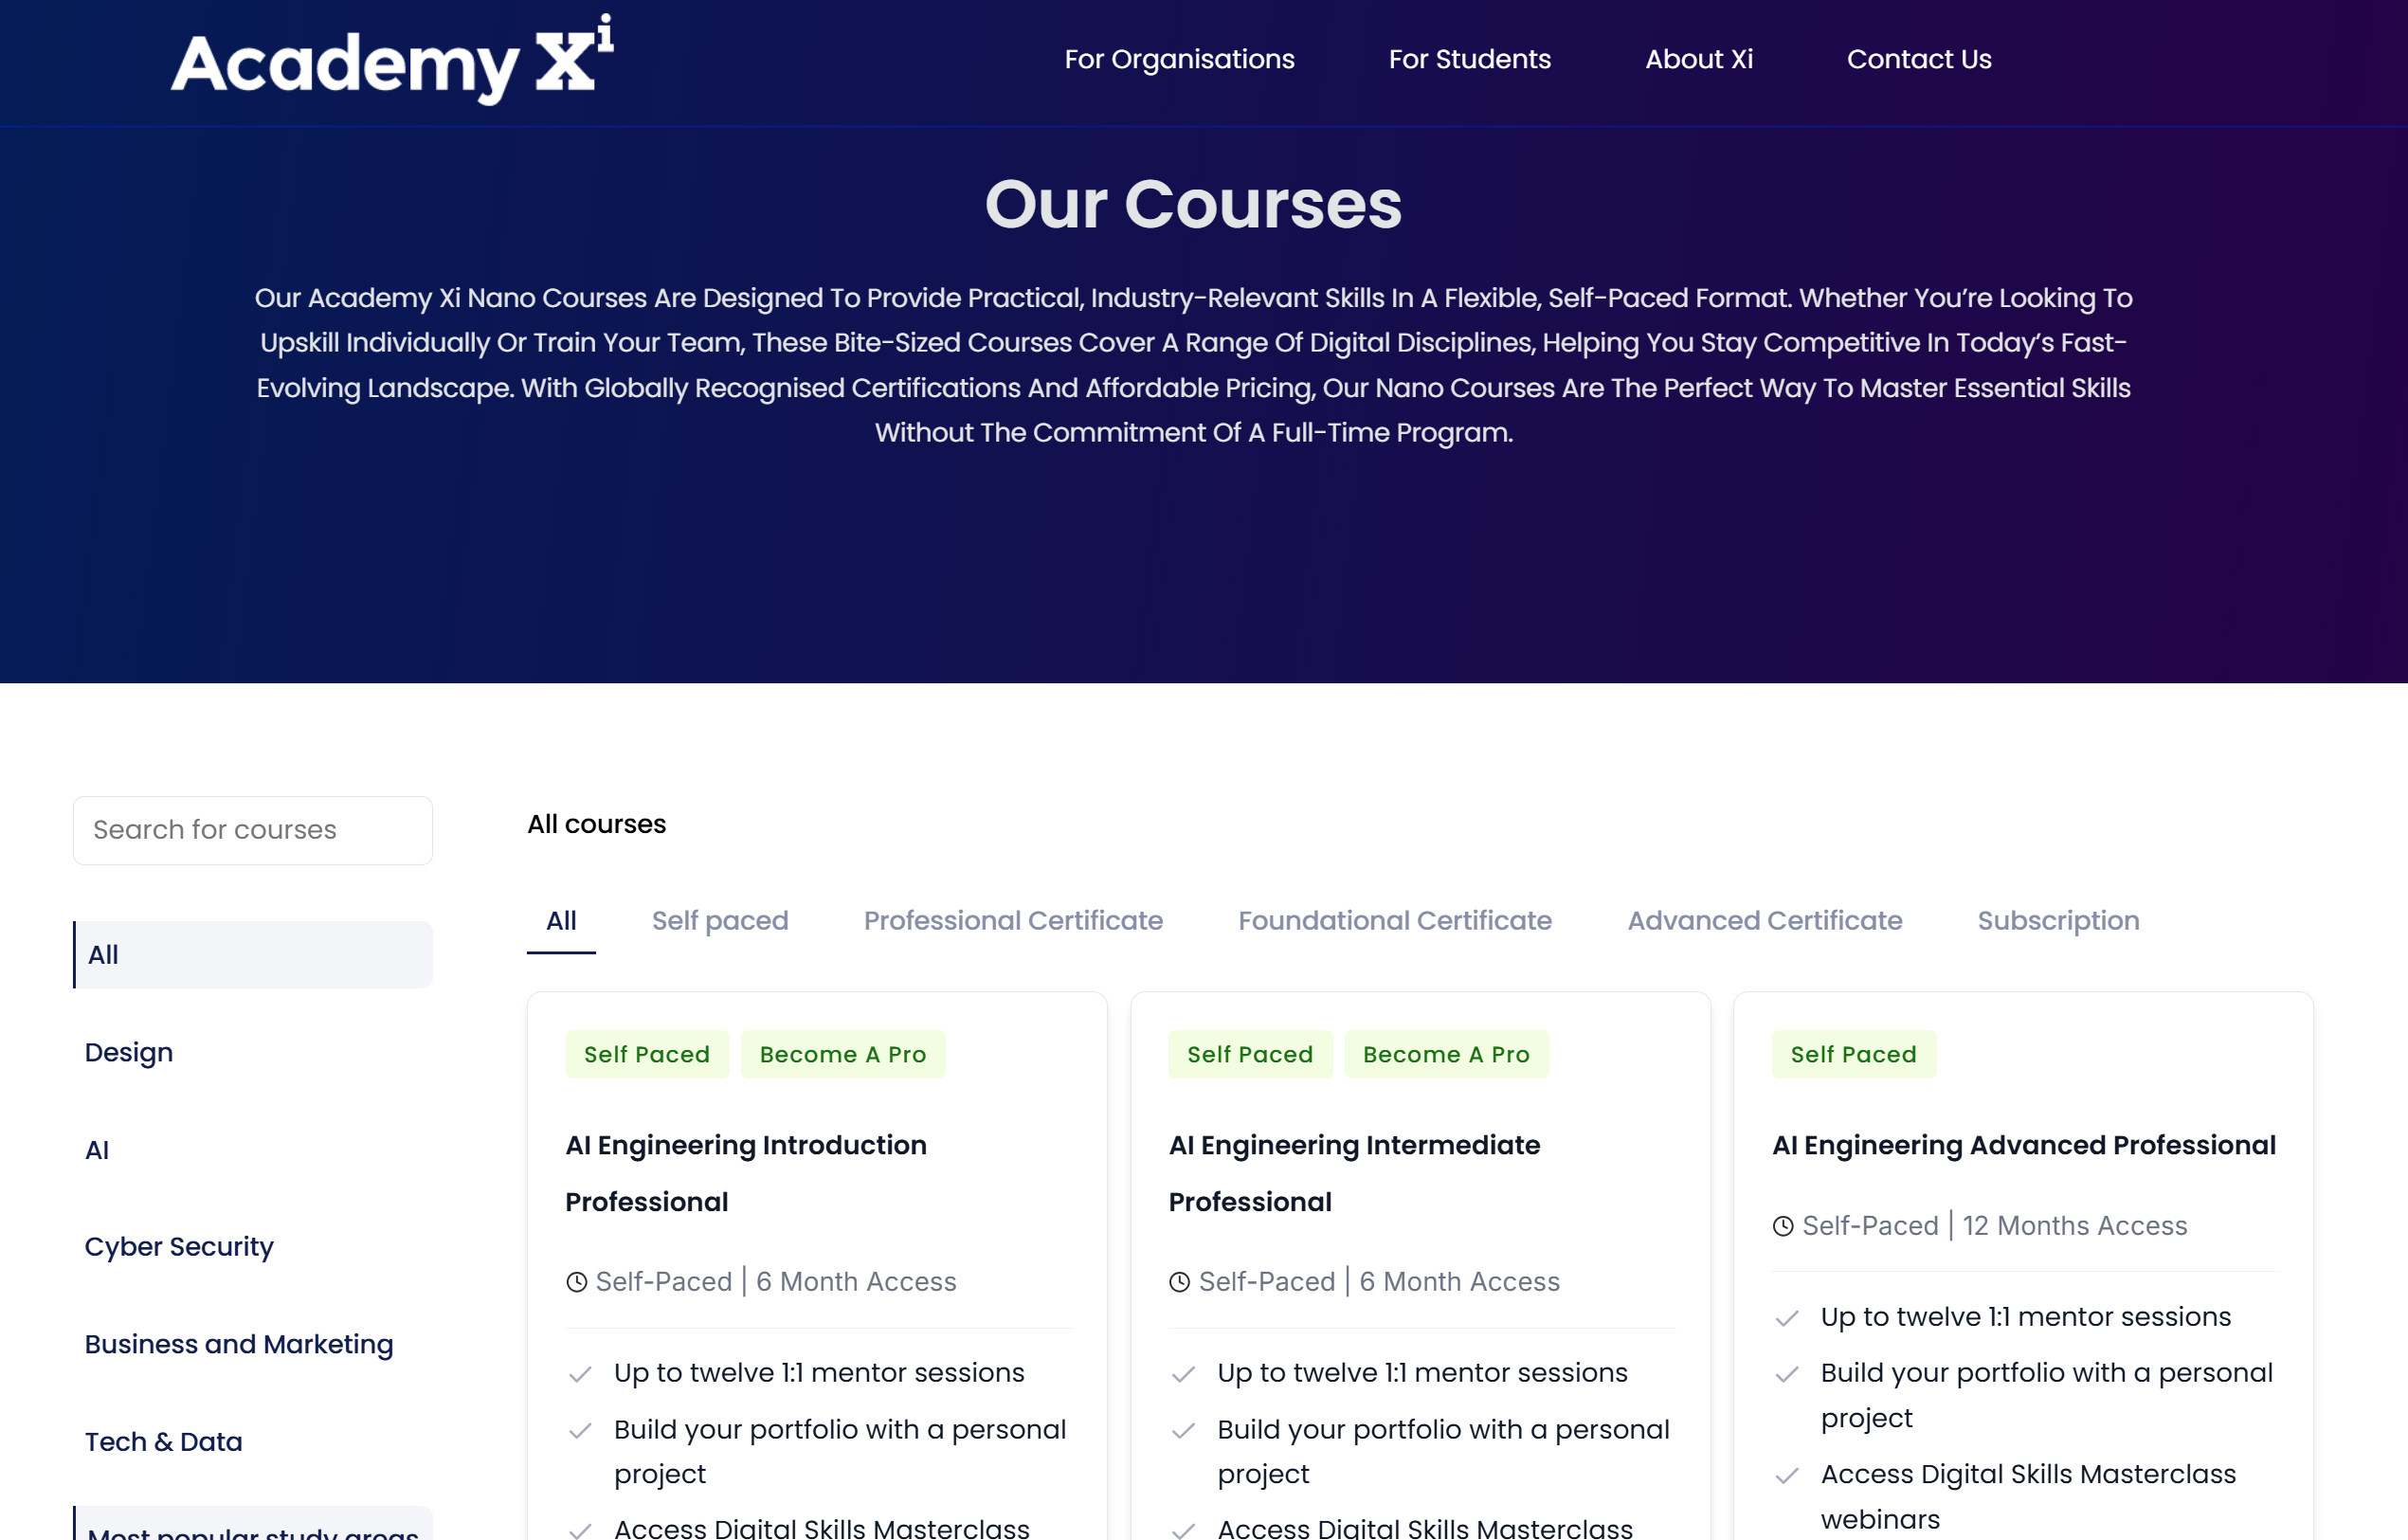
Example 3
Main Website
Coursebox Learning Experience
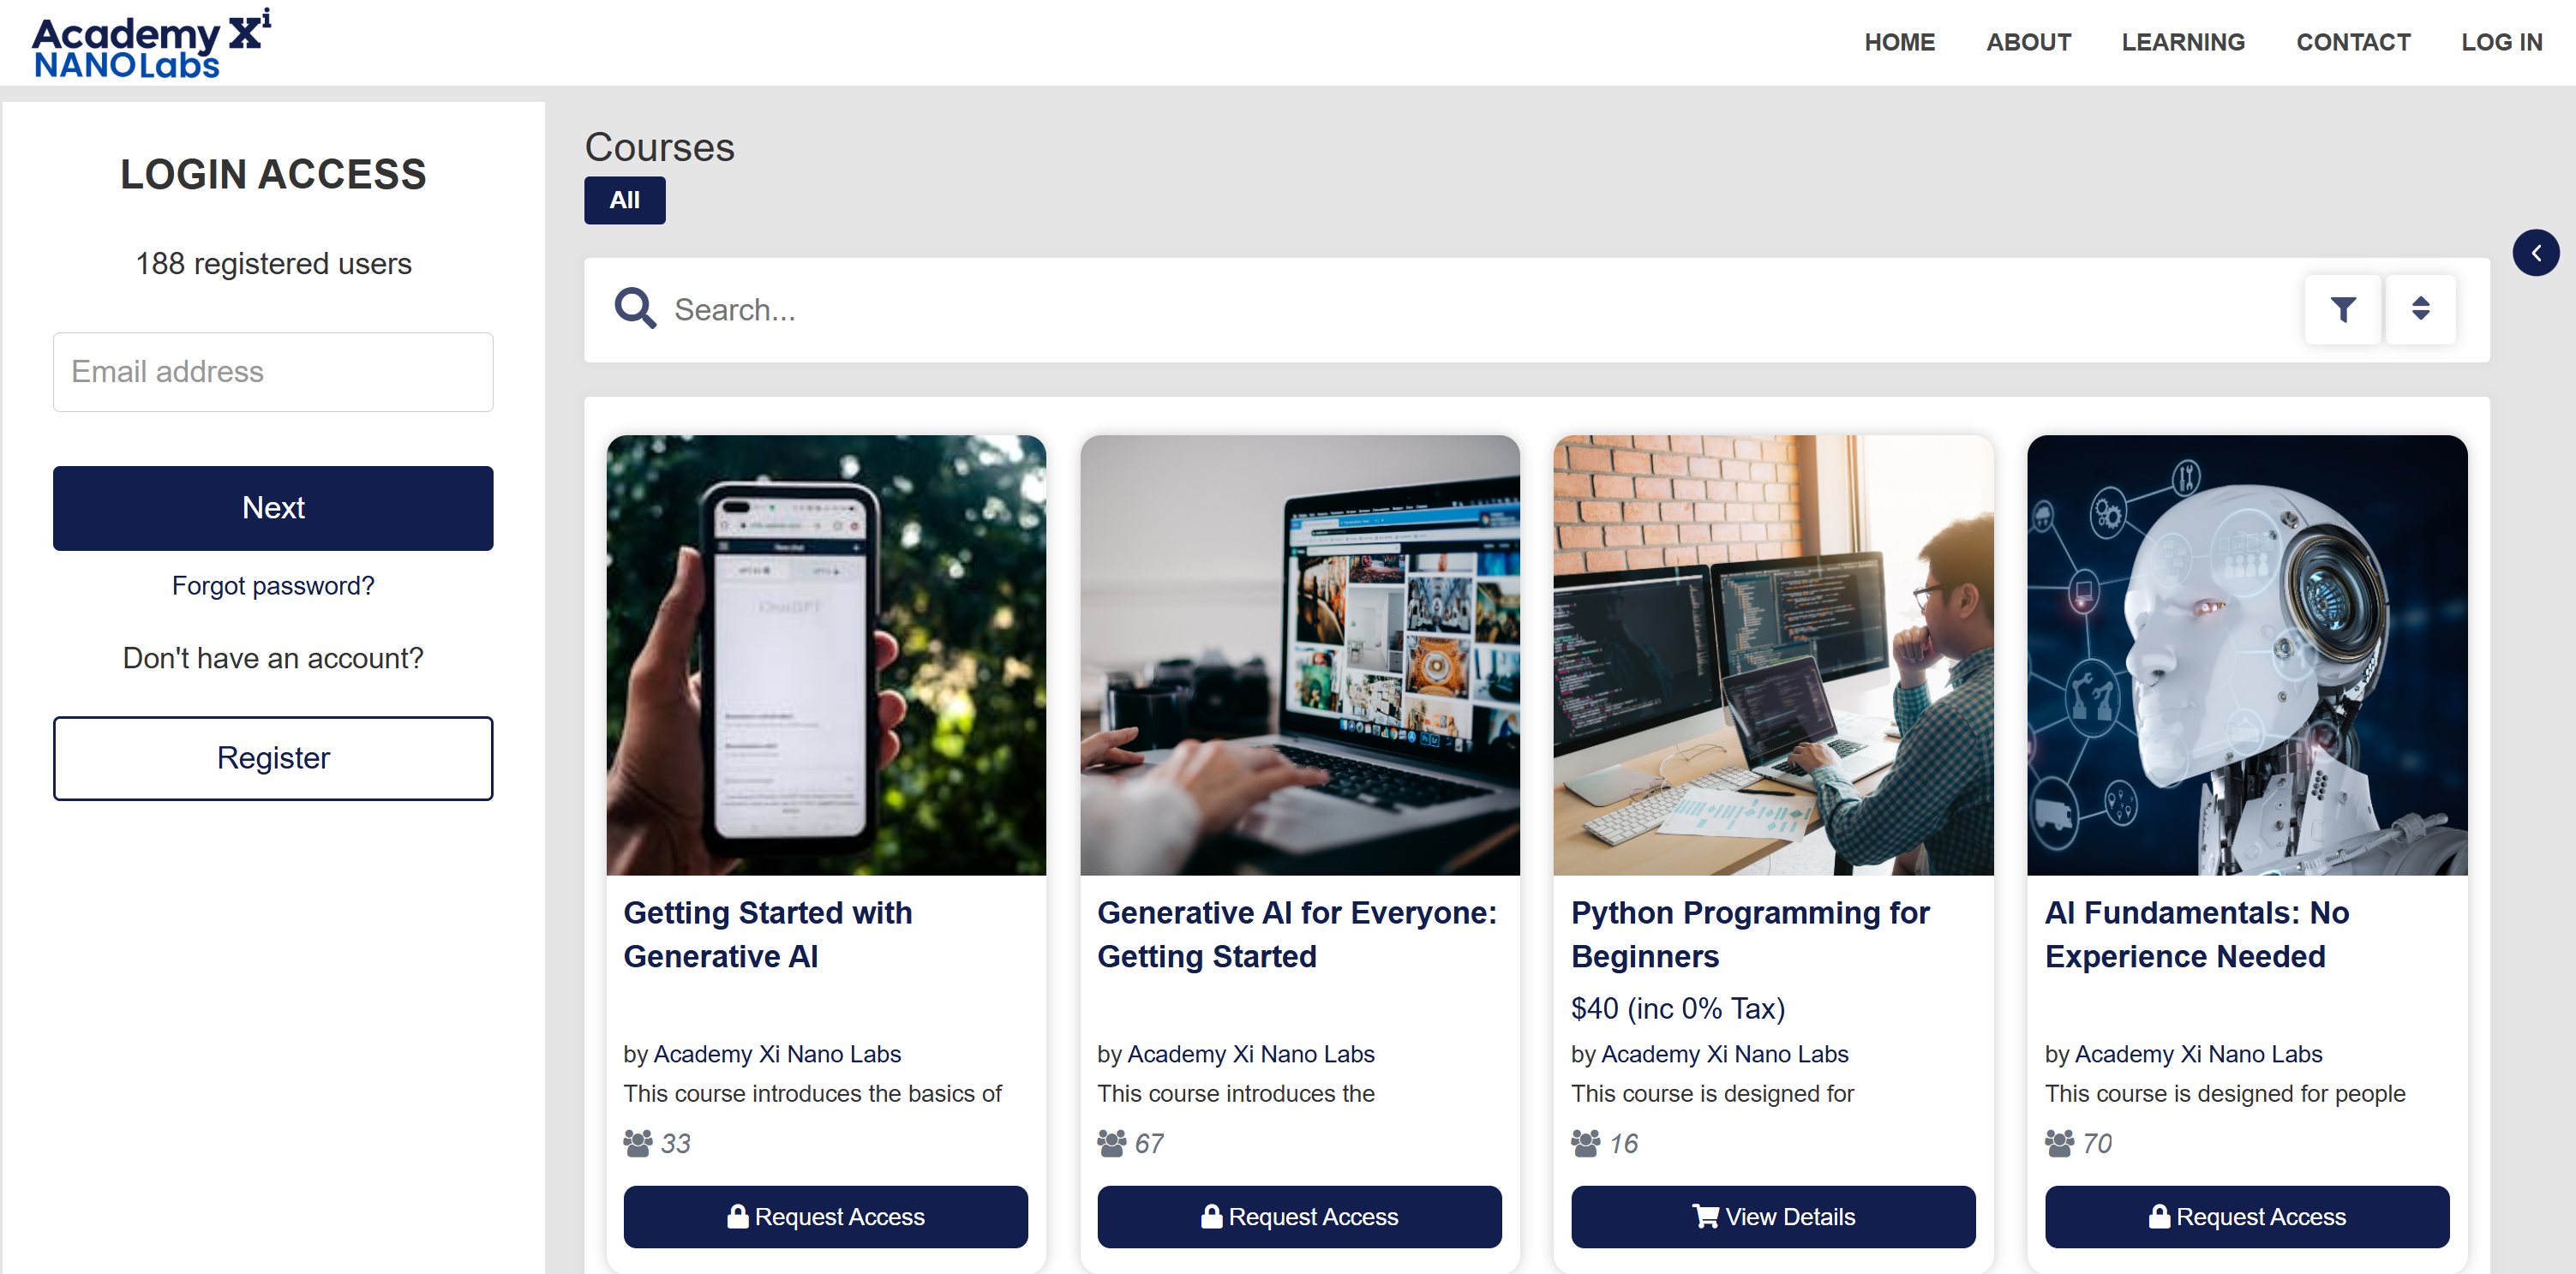
Example 4
Main Website
Coursebox Learning experience
Was this article helpful?
That’s Great!
Thank you for your feedback
Sorry! We couldn't be helpful
Thank you for your feedback
Feedback sent
We appreciate your effort and will try to fix the article