This topic explains how to create, manage, and use Groups in Coursebox to support collaboration, communication, and community-based learning. It covers how Groups function outside of courses, how to manage members and content, and how to control visibility and access—whether you’re running private cohorts, open communities, or paid membership groups.
Explore tutorials in our Demonstration Video Library.
A Group is a standalone collaborative space that exists independently of courses. Groups are commonly used for:
Webinars and live sessions
Community discussions
Ongoing support or mentoring programs
Paid memberships or bundles
Example
You might create a Group called “Starting Someone on Insulin” to support a live webinar promoted via Eventbrite. You can then reference or promote this Group inside a related diabetes course so enrolled learners can participate.
Create a Group
To create a Group, the user must:
Have Admin status enabled
Have their user Status set to “Approved Admin”
If Admin status is not enabled at the account level:
The “Create a group” button will not appear in the drop-down navigation
The Groups submenu option may not be visible
You can create a Group in two ways:
Option 1: From the groups main navigation
In the top navigation bar, click the + (plus) icon.
Select Group from the dropdown menu.
Click Add Group.

Option 2: From the Create area
- Open the drop-down from the Create section
- Select Create group

You’ll now see the Group setup screen where you can enter basic details.
Create a Group in Coursebox (Step by Step)
From anywhere in Coursebox, go to the top-right navigation bar and click the + (plus) icon.
From the dropdown menu, select Group. This opens the Create Group screen.
On the Group setup screen:
Enter the Title of your Group

(Optional) Add a Code for internal reference
Leave Membership fee at
0.00if the Group is free
If you want to create a paid Group:
Enter a Membership fee (monthly amount)
Select the currency (e.g. USD, AUD, EUR)
Add Additional Tax if required (e.g. GST/VAT)
⚠️ Important: You must connect Stripe before charging members.

In the Description field:
Explain the purpose of the Group
Describe who it’s for and what members will receive
Use the rich text editor to format text or add links
Example:
The Aspiring Author Group is a supportive and inspiring community for writers at every stage of their journey.

Click Save to create the Group.
Your Group is now created but not yet published.
Publish a group
Coursebox gives you flexible options for publishing your groups, depending on how you want to manage visibility, access, and monetisation. Whether you're building an open community, running a private cohort, or offering exclusive paid content, there’s a publishing method to suit your goals.
You can publish a group in three ways:
Public Group – open to everyone and easy to discover
Private Group – accessible only by invite or admin approval
Paid Membership Group – requires a monthly subscription for access
Publish a Private Group
Only people added to the group will be able to see it.
- Go to your Group and select Publish from the arrow down.
- From the drop-down choose Private.

Publish a Public Group
Anyone can find and join the group without approval.
- Go to your Group and select Publish from the arrow down.
- From the drop-down choose Public.

Publish a Group with Paid Membership
You can charge users for access to your bundle (or group) content on a recurring monthly basis by following these steps:
Step 1: Edit Your Bundle or Group Settings
Go to your Dashboard

Navigate to the Groups tab and select bundle (e.g., 4S Endorsement Plus) you want to monetise and click manage.

Click the gear icon (⚙️) next to the title.
Select Edit from the dropdown menu.

⚠️ Important: Before setting a membership fee, you must first connect your Stripe account.
- In the Membership Fee field, enter your monthly price (e.g.
29.00).

Select your currency from the dropdown (e.g. USD or AUD).
In the Additional Tax field, add any VAT/GST percentage (e.g.
10.00for 10% GST).

Use the Description box to explain what members get for their subscription. You can format the text using the toolbar above the box.
Example:
Access to all premium training content, monthly webinars, downloadable templates, and discussion boards.
Groups: Tick "Anyone can post" if you want members to contribute to discussions.
Broadcasts: Set how often email broadcasts are sent. For example, if set to 1, members will receive an email for every post.
Default Notifications: Choose if All users or only Admins will receive updates by default.
Force Acceptance of Terms: Tick this box if you want members to agree to your terms before joining.

Click Save to apply your changes.
You can now Publish the bundle and share it with your audience for paid monthly access.
Request Access vs Subscribe
If a group is published in Private mode and is not connected to a paid course or recurring membership product, users will see a “Request Access” button.
To display a “Subscribe” or payment option instead, the group must be attached to:
A recurring membership product, or
A paid course/subscription product
If no payment product is linked, the system will default to “Request Access.”
Mobile App Note:
The mobile app mirrors the LMS configuration. If the group is not connected to a subscription product, users will not be redirected to a paywall.
Invite Members to Groups
Once a Group is created, you can view and manage it directly from the Groups panel:
Filter Groups: Use the search bar to quickly locate a Group by name.
View Members: Each Group lists the number of members. Click the Group name to view a full member list.
Manage Actions: Under the Action column, you’ll see options such as editing the Group details, adding or removing members, or deleting the Group.

Invite a member to the Group
In the Group page, Click onicon to open a dropdown menu.

Click on Members to view existing members and add new members.

Enter the name of the member and Click on Add. (Please note that the member should already be registered with your training portal.)
NEW! Bulk Import Members to a Group
Navigate to Groups in the left-hand menu. Click on the Group name (for example, Aspiring Authors).
- Locate the gear (⚙️) icon next to the Group status.
- Select Members. This opens the Members management area for the Group.
- Choose Bulk Import Members.

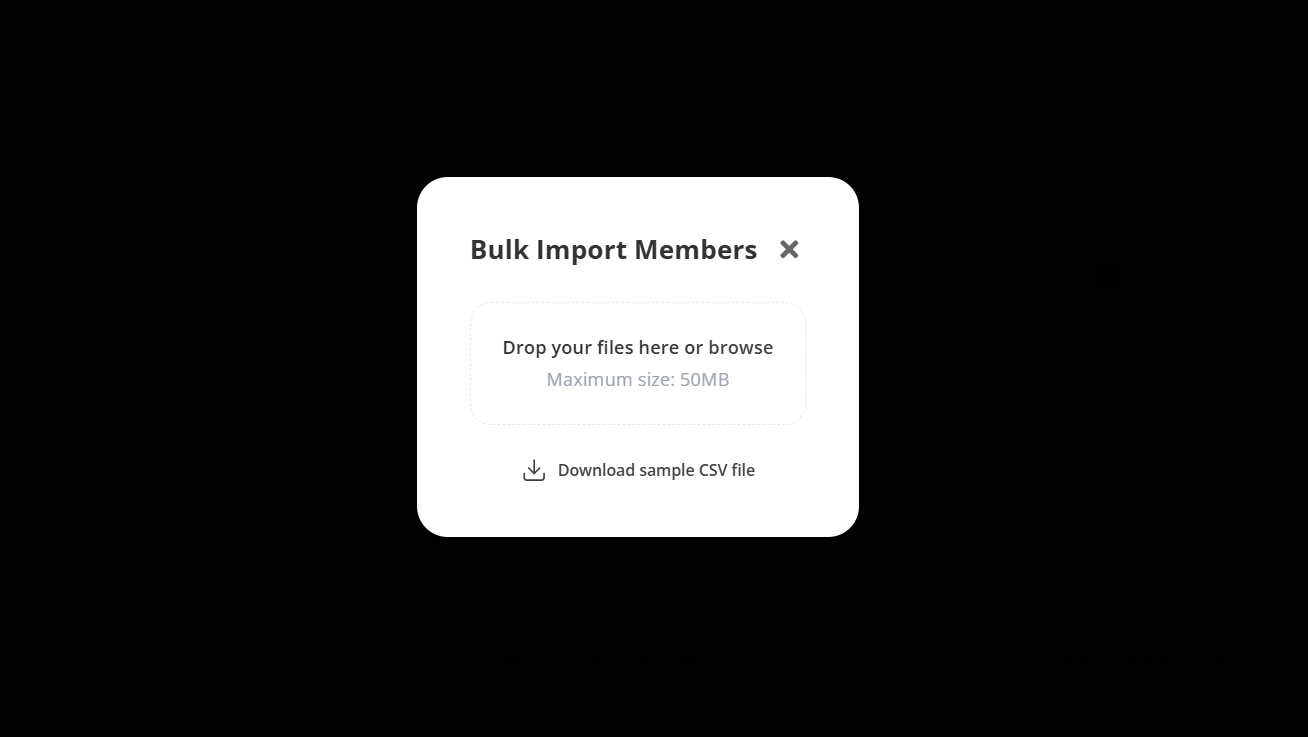
The Bulk Import Members modal window will appear.
You’ll see:
A drag-and-drop upload area
A Download sample CSV file link
Edit a Group
Select the group (e.g. "Bundle One") that you want to edit. And Click Manage.

- Below the group title, click the Manage link to access group settings and members.
- Edit the group title, description, or profile image by clicking the pencil/edit icons.
- Change the privacy setting (Private or Public) if needed.
- Use the Unpublish button to temporarily hide the group.

Manage Groups
Once your Group is created, Coursebox gives you a range of tools to manage conversations, share resources, and keep members engaged.
Mention a Group in a Post
In any Group or course newsfeed, type @ followed by the Group name.
A list of available Groups will appear.
Select the correct Group to link it into your post.
Tag a learner to a Group Post
Type @ followed by the learner’s name.
A list of matching names will appear.
Click on the correct learner to tag them in your post.

Publish Content on Group
In the Group, you can publish content to engage with your Group members.

Here are the types of content which you can publish:
- Simple Text
- Adding Images or files
- Create and publish events
- Interactive content with HTML Embed
You can choose to publish the content ‘NOW’ or schedule it for later date and time.
Add Images and Files to your Group
In your Group, you can add additional media and descriptions on the right hand side bar for your members.
Click on the pen icon on the top right corner of your Group to edit the description on the right hand side bar.

You can now change the Title, Description. Use the wysiwyg editor to format your text.
You can also embed a Youtube or Vimeo video. Click on the Add button to attach an image or a file (pdf) to the description.
Click on Save to update.
This section can be a great way for you to share reference teaching material with the members.
Was this article helpful?
That’s Great!
Thank you for your feedback
Sorry! We couldn't be helpful
Thank you for your feedback
Feedback sent
We appreciate your effort and will try to fix the article