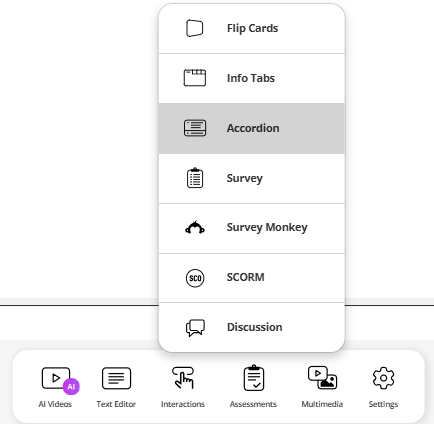
Add Interactions
Coursebox lets you boost learner engagement by adding interactive elements to your course. Simply choose an interaction type—such as tabs, flip cards, or accordions—and the platform will help you structure content in a way that encourages exploration and reinforces learning. These tools are ideal for breaking down complex information and keeping learners actively involved.

Note: When you create a course using Coursebox AI, interactive elements may be automatically generated as part of the course structure. However, when building or editing a course manually, the Coursebox AI Writer does not generate content for interactive elements. In these cases, all interactions must be created and populated manually by the course creator.
Use the Carousel
The Carousel interaction allows you to present content across multiple swipeable or clickable slides. It’s ideal for breaking information into digestible sections, highlighting key points, or creating a visual storytelling experience.
The steps are:
Click Carousel from the interaction menu.

A carousel block will be added to your page.
- Enable Auto play if you want the carousel slides to rotate automatically. Leave this unchecked if you want learners to manually navigate between slides.
Click on Carousel Item 1 (or any existing item).
Update the title if needed.
Choose a Background colour using the colour picker or enter a hex code.
Add or edit content in the Content editor.

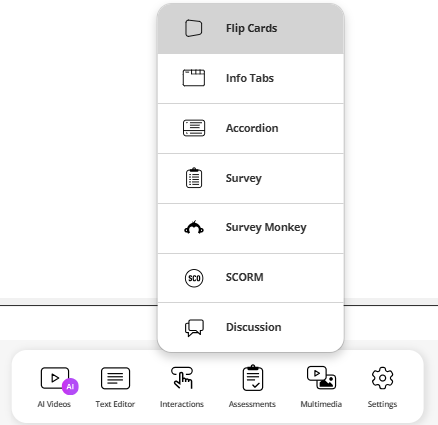
Use Flip Cards
Flip Cards are an interactive activity that allows learners to engage with content in a fun, visual way. Each card has a front and back—clicking on the card flips it to reveal additional information. This is ideal for flashcards, definitions, key terms, or bite-sized learning content that encourages active recall.
The steps are:
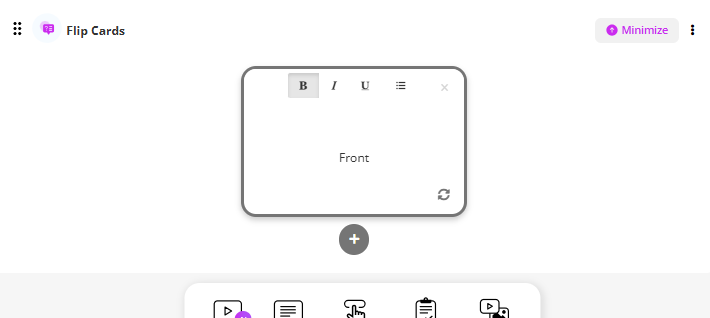
- Select Flip Cards from the menu.
- Type your question or note in front of the card
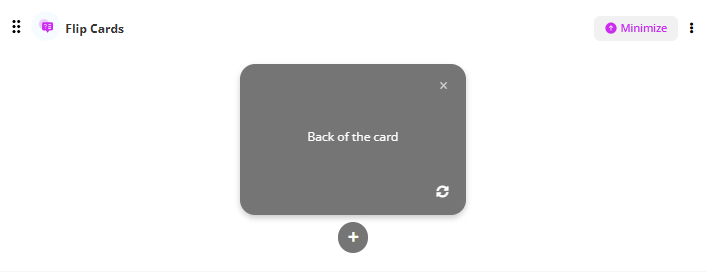
- Type response on the back of the card, Continue to add cards using the + sign as needed.
To add an Image:
Open your Flip Card block.
Select the Front or Back of the card where you want the image.
Click on the image icon (picture upload option).
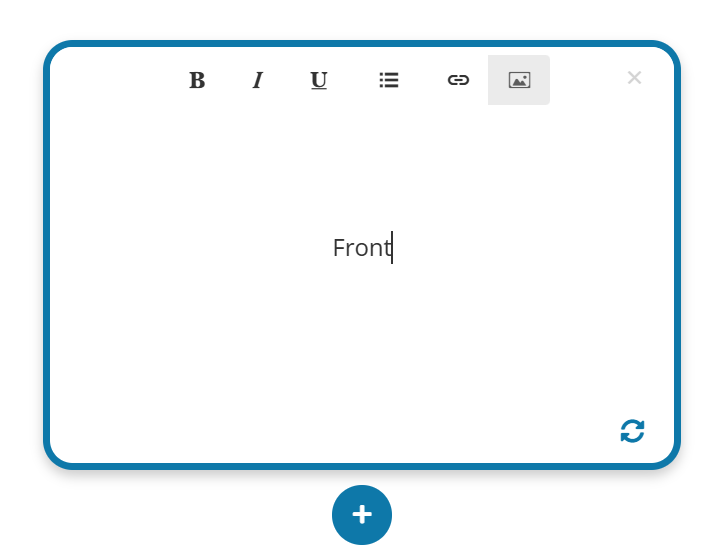
Upload an image from your computer or select one from your media library.
The image will appear on the card. You can resize or adjust it as needed.

To add a URL (Link):
Open your Flip Card block.
Highlight the text or select the area where you want the link.
Click the Insert Link icon.
- In the popup:
Text to display: Enter the text you want learners to see (e.g., “Visit Coursebox”).
To what URL should this link go?: Paste your web address (e.g., https://www.coursebox.ai/).

Optional: Tick Open in new window so the link doesn’t replace the course page.
Click Insert Link.
The link will now appear as clickable text on your Flip Card.

Use Info Tabs
Tabs allow you to present content in a clean, organised format by grouping related information under separate, clickable tabs. This helps reduce clutter and makes it easier for learners to navigate through sections of content without feeling overwhelmed. Tabs are great for comparing concepts, breaking down complex topics, or structuring step-by-step instructions.
The steps are:
- Select Info Tabs from the menu

- Add content on Tab 1. Continue to add tabs using the + sign as needed.
Note: *You can rename the Heading on each Tab.
When you create a course, Coursebox automatically adds a default image for you. You can keep this image, replace it, or add additional images as you build out your content.
When creating Info Tabs manually, you can also include an icon or image inside each tab to visually support the content.
To add or change an image in an Info Tab:
Open the tab you want to edit.
Click the image icon in the editor toolbar.
Upload an image from your computer.
Icons are especially effective for highlighting key ideas, drawing attention to important sections, or creating a consistent visual style across tabs.

Add Accordion
The Accordion feature lets you present content in expandable sections, allowing learners to click and reveal information one section at a time. This format helps keep your course layout clean and focused, making it ideal for FAQs, step-by-step guides, or breaking down detailed topics into manageable chunks.
The steps are:
- Select Accordion from the menu
- Create the content for each accordion. Continue to add accordions using the + sign as needed.
Note: *You can rename the accordion Heading
When you create a course, Coursebox automatically adds a default image for you. You can keep this image, replace it, or add additional images as you build your content.
When creating Accordions manually, you can include an icon or image inside each accordion section to visually support the content.
To add or change an image in an accordion section:
Open the accordion section you want to edit.
Click inside the content area.
Select the image icon in the editor toolbar.
Upload an image from your computer.
Images and icons are useful for reinforcing key ideas, improving scannability, and creating a more engaging learning experience.

Use Hotspot Image
The Hotspot Image interaction lets you turn an image into an interactive learning experience. Learners can click on hotspots within the image to reveal additional information, explanations, or guidance.
You can add multiple hotspots on the same image, making it ideal for exploring diagrams, highlighting key features, supporting scenario-based learning, or guiding learners through visual content step-by-step.
In the lesson editor, select Interactions.

Choose Hotspot Image from the list.
- A Hotspot Image block will be added to your lesson

Upload an image from your computer.
Once uploaded, the image will appear in the editor and is ready for hotspots to be added.
Click Add hotspot.
Click anywhere on the image to place the hotspot marker.
A numbered hotspot will appear on the image.

In the Hotspots panel below the image, select the hotspot (e.g. Hotspot 1).
Enter the content you want learners to see when they click the hotspot.
Use the plus (+) icon to add more hotspots.
Use the delete icon to remove a hotspot.
Drag and reposition hotspots directly on the image as needed.
Use Promo
The Promo interaction allows you to highlight key content using image cards with a heading, short description, and optional call-to-action button.
To add a Promo block:
Open your course page.
Click Interactions from the bottom toolbar.
Select Promo.

A new Promo block will be added to your page.

Each Promo card includes the following fields:
1. Heading
Enter the title for the promo card.
Example:
Car 1
Module 2: Customer Insights
Download Resource
2. Upload Image
Click the Upload Image area.
Select an image from your computer.
The image will display at the top of the card.
Tip:
Use high quality images.
Keep image size consitent across cards.
Landscape images work best for visual balance.
3. Content
Add a short description in the content editor.
You can:
Bold or italicise text
Add bullet points
Insert links
Keep descriptions concise (1–3 short sentences works best).
Example: Explore this classic design and discover its unique features.

Set up a Survey
The Survey feature allows you to collect feedback, opinions, or learner insights directly within your course. It’s a great way to understand your audience, measure satisfaction, or gather input for improvement.
The Steps are:
- Select Survey from the menu.

- Select Survey Settings to Force Completion
- Click on the + icon and select the type of survey from the dropdown.
Surveys are non-graded and help you maintain a learner-centred approach by giving your audience a voice in their experience.

Listen Mode (Standard Feature)
Listen Mode is a standard feature in Coursebox that allows learners to listen to survey questions.
In survey activities, Listen Mode is listen-only. Learners listen to the question being read aloud and then select their response.
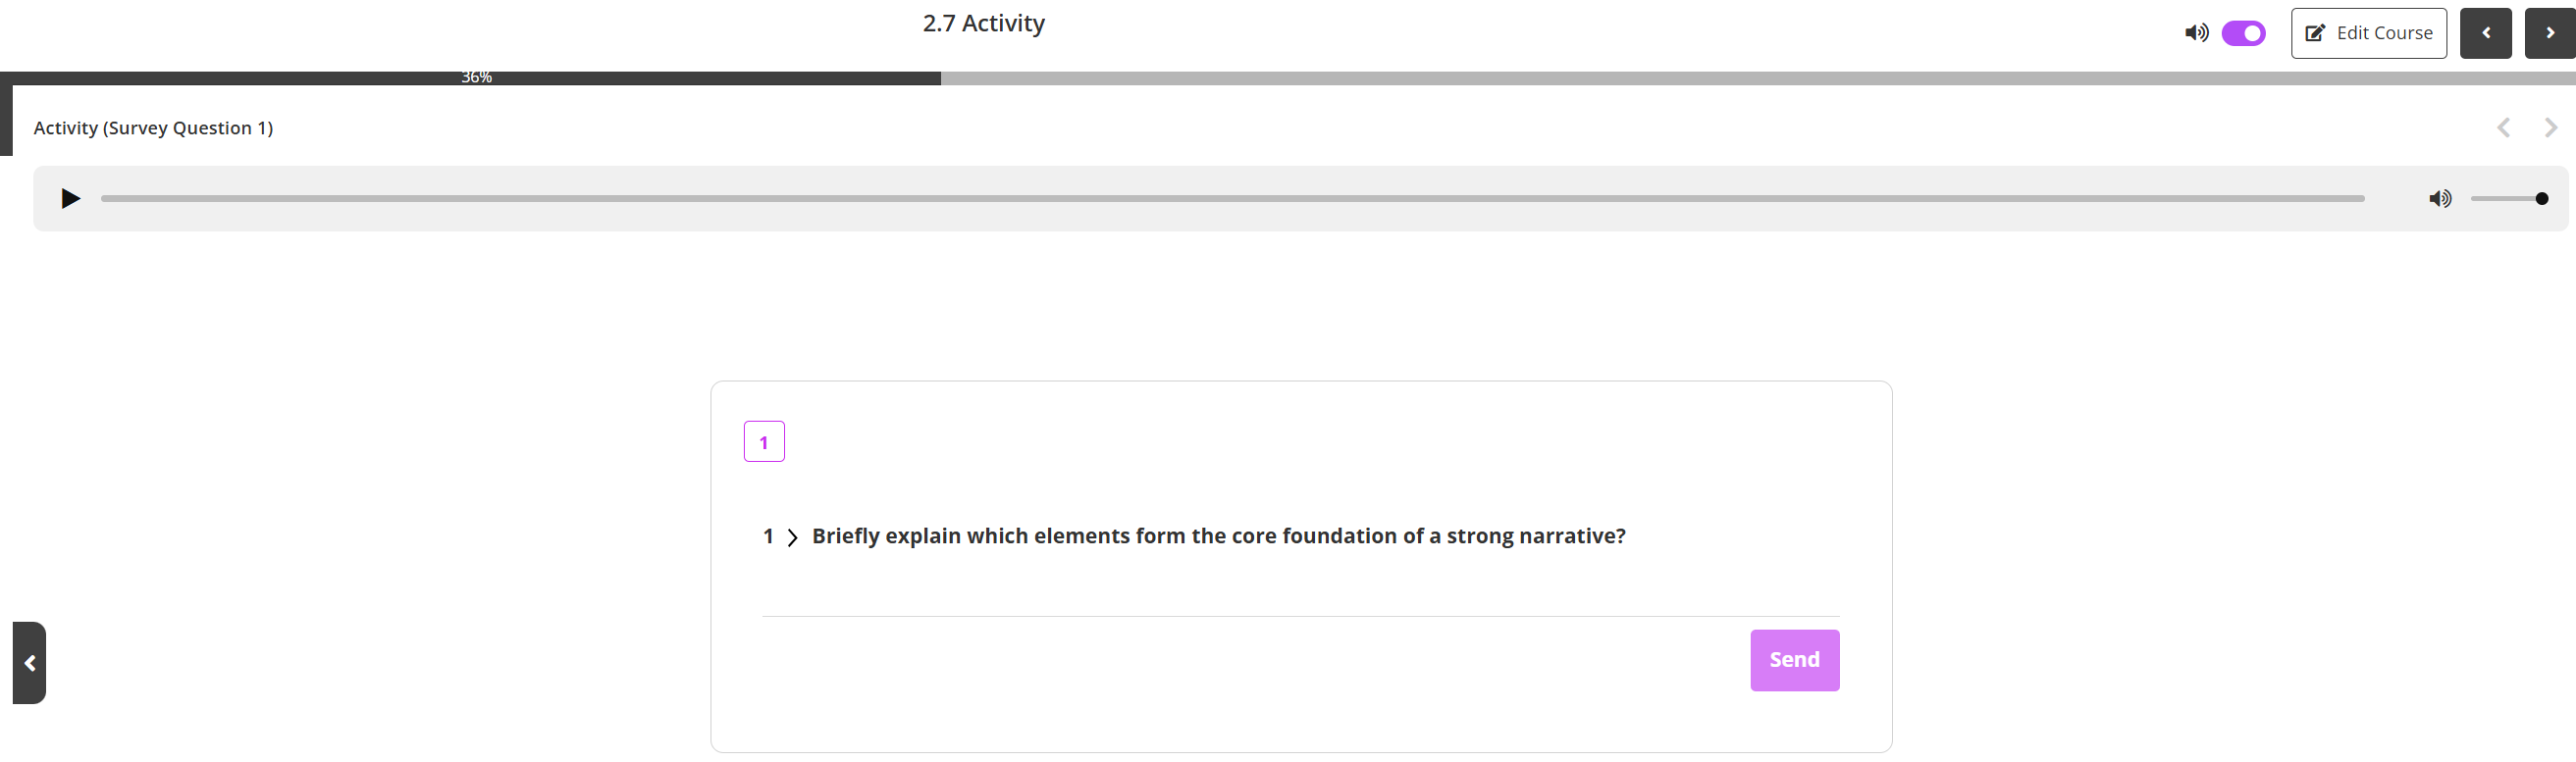
When a learner opens a survey activity with Listen Mode enabled:
The survey question is displayed on screen
An audio player appears at the top of the activity
Integrate SurveyMonkey
You can seamlessly integrate SurveyMonkey into your Coursebox course to gather detailed learner feedback or run more advanced surveys.
Tip: Survey Monkey is a free and popular survey creating tool.
The steps are:
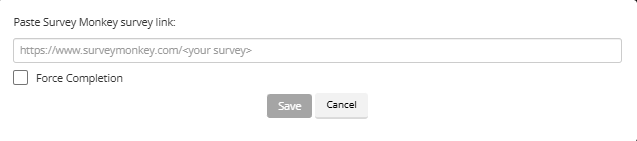
- Create your survey in SurveyMonkey and publish it.
- Select Survey Monkey from the menu
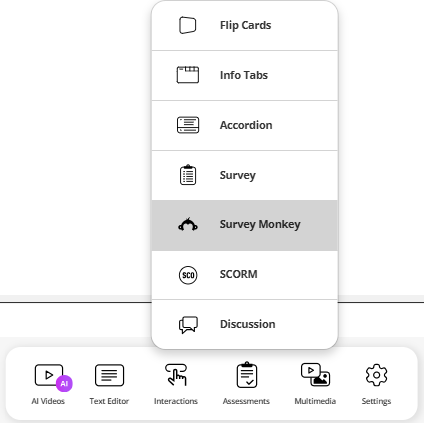
- Copy the provided embed code (HTML iframe).
Learners will be able to complete the survey directly within the course environment, keeping the experience smooth and integrated.
Use the Discussion Feature
The Discussion feature in Coursebox allows learners to connect, share ideas, and engage in meaningful conversations within your course. Whether you're encouraging peer interaction, hosting reflective discussions, or facilitating Q&A, this tool supports collaborative learning and builds a sense of community. Instructors can also moderate discussions, prompt participation, and respond to comments directly.
The steps are:
- Select Discussion from the menu

- Select Admins and Facilitators from the drop-down menu
- Select Enrolled View from the dropdown menu
- Post a discussion. By clicking the Add button you can include an image of file to the discussion. Then press send.

Tip:
- Moderate Comments: You can respond to learner posts or remove inappropriate comments if needed.
- Pin important posts: Highlight key contribution or instructor guidance.
- Enable or Disable Replies: Control whether learners can reply to each other or only to instructor.
- Use for Assessment:  Some instructors use discussions as part of participation grades or reflective tasks.
Was this article helpful?
That’s Great!
Thank you for your feedback
Sorry! We couldn't be helpful
Thank you for your feedback
Feedback sent
We appreciate your effort and will try to fix the article